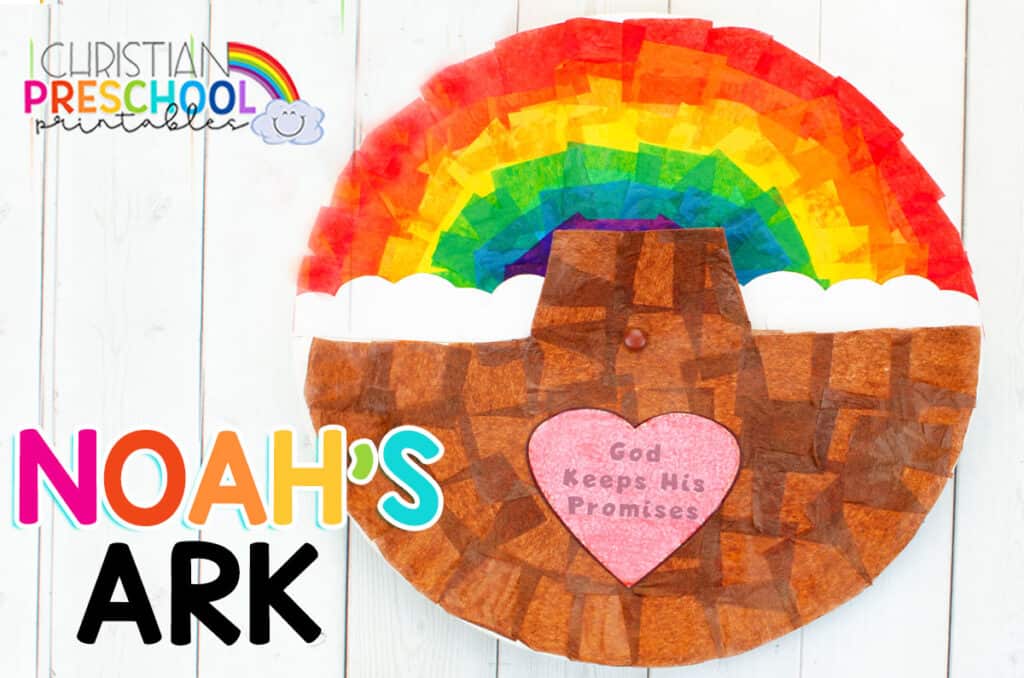
[adthrive-in-post-video-player video-id=”tD2TM67D” upload-date=”2020-05-04T13:00:00.000Z” name=”Noah’s Ark Tissue Paper Bible Craft” description=”Try this Coloful Noah’s Ark Bible Craft Today!” player-type=”default” override-embed=”default”]
Noah’s Ark Craft Instructions
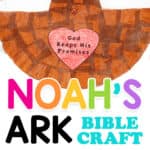
Looking for some fun and free bible crafts that are all about Noah’s Ark and the flood? Whether you are a Sunday School teacher, homeschool mom, working mom, or a stay at home mom, we’ve got you covered! You are going to love our tissue paper Noah’s Ark craft that requires very little prep on your part!
Teaching about the amazing 40-day journey of Noah and his family is so much easier when a hands-on activity is available. It gives children an opportunity to use all of their senses while learning about God’s amazing miracles.
Noah’s Ark Bible Craft Supplies
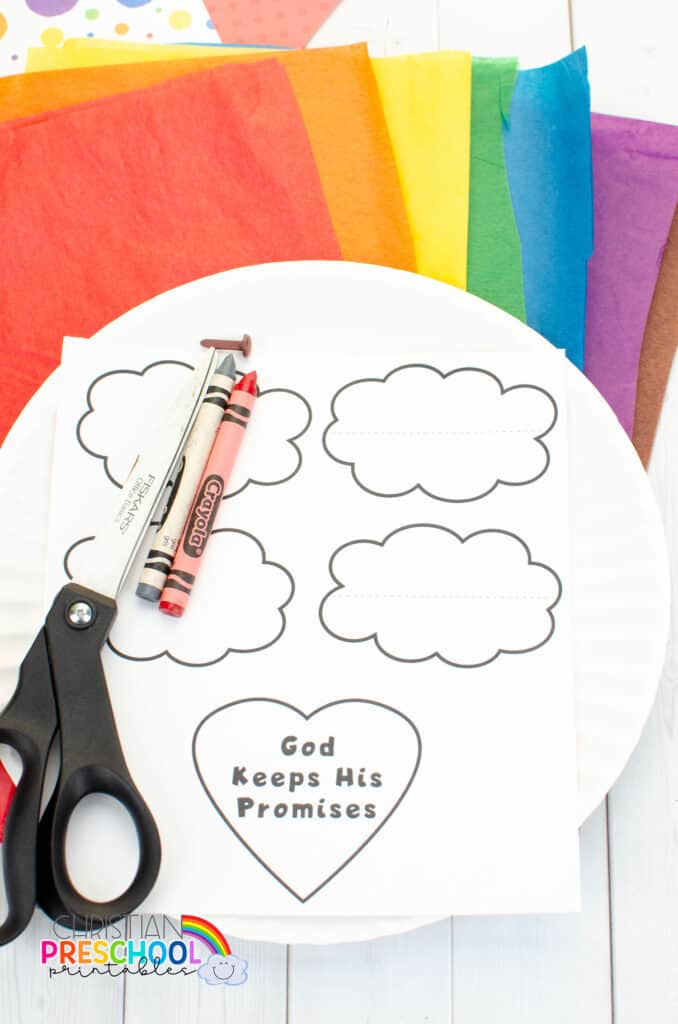
- Two paper plate
- Brass fastener
- Tissue paper; rainbow colors plus brown.
- Noah’s Ark Template
- Crayons; red and gray
- School glue
- Small paintbrush
- Scissors
Noah’s Ark Craft Instructions
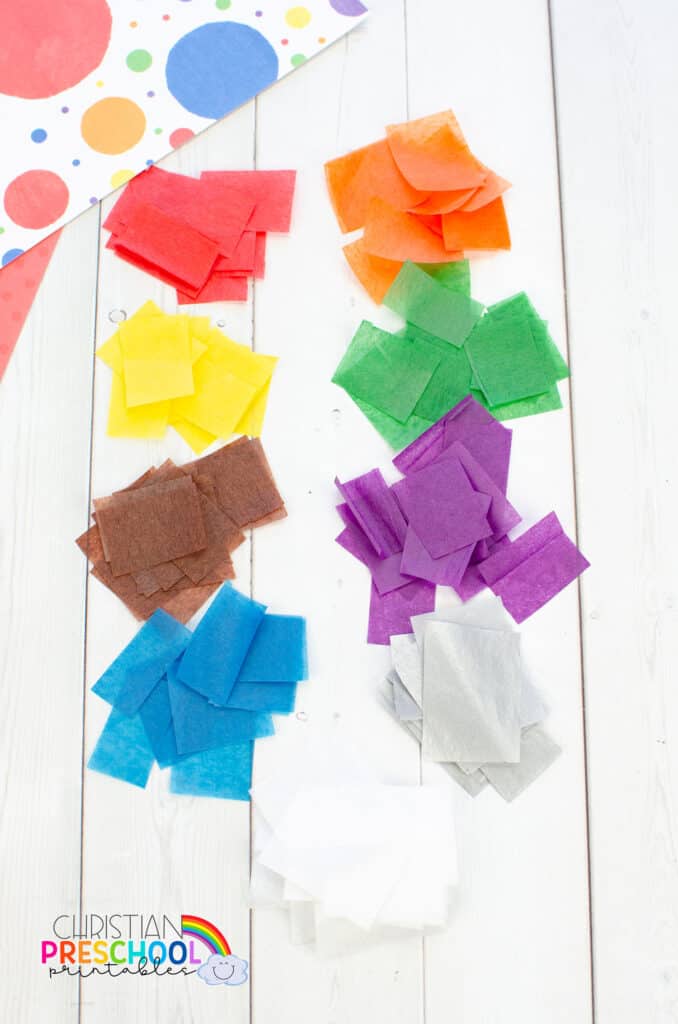
1.First take each color of tissue paper and cut into pieces.
2. Then grab a paper plate, draw a line down the center of the plate to separate the rain side from the rainbow side.
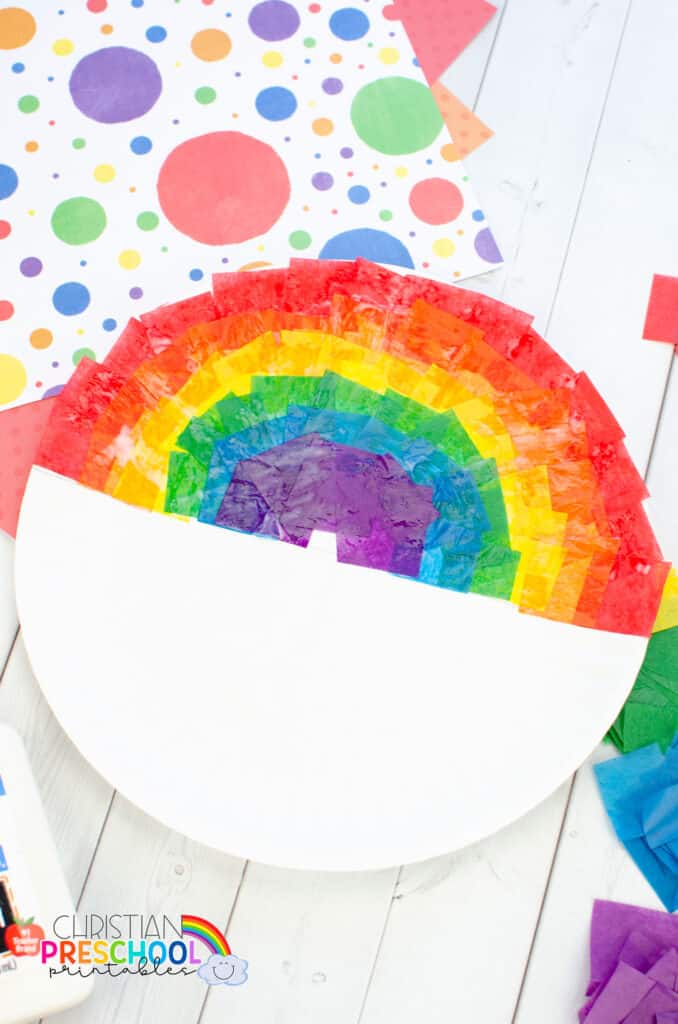
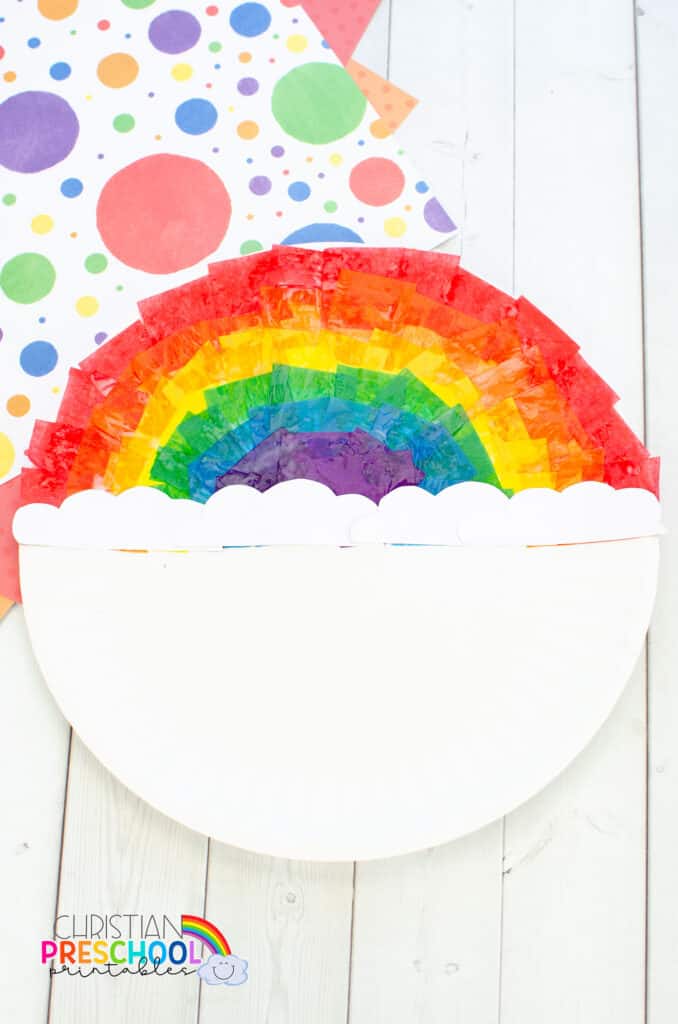
3. Let’s work on the rainbow side first. Take the school glue and squeeze some along the border of one side of the plate. Use the paintbrush to spread the glue around. Glue red pieces of tissue paper along the edge of the plate. Take the paintbrush and spread some glue over the top of the red pieces, making sure to get all edges down.
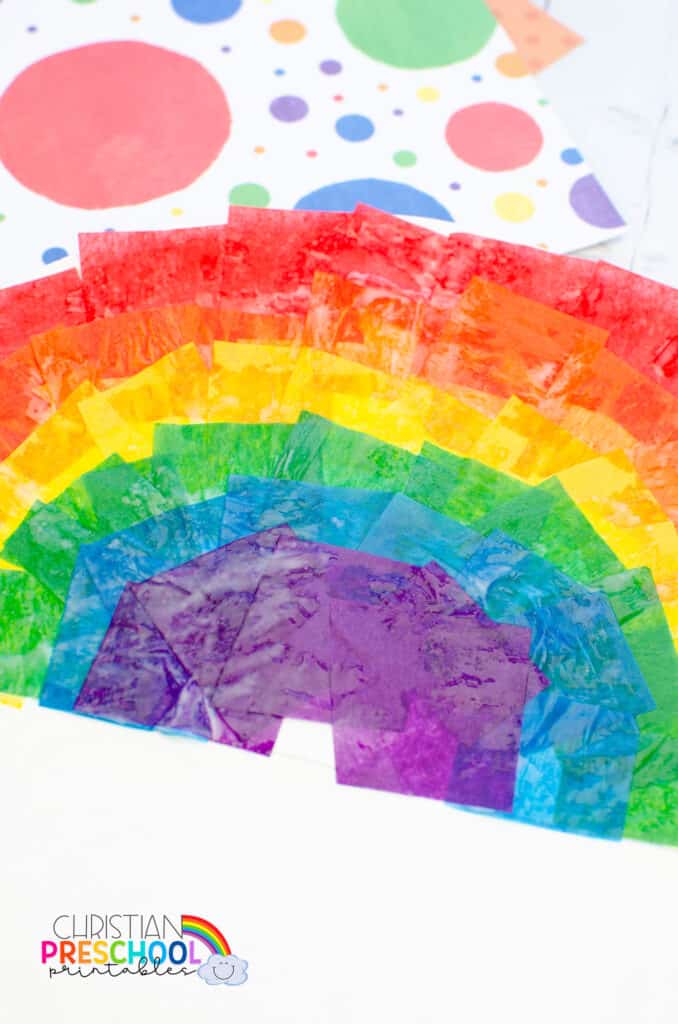
4. Then glue orange pieces a little further into the center of the plate. Proceed with all the colors of the rainbow. Make sure all edges are sealed down so the plate can turn without getting stuck.
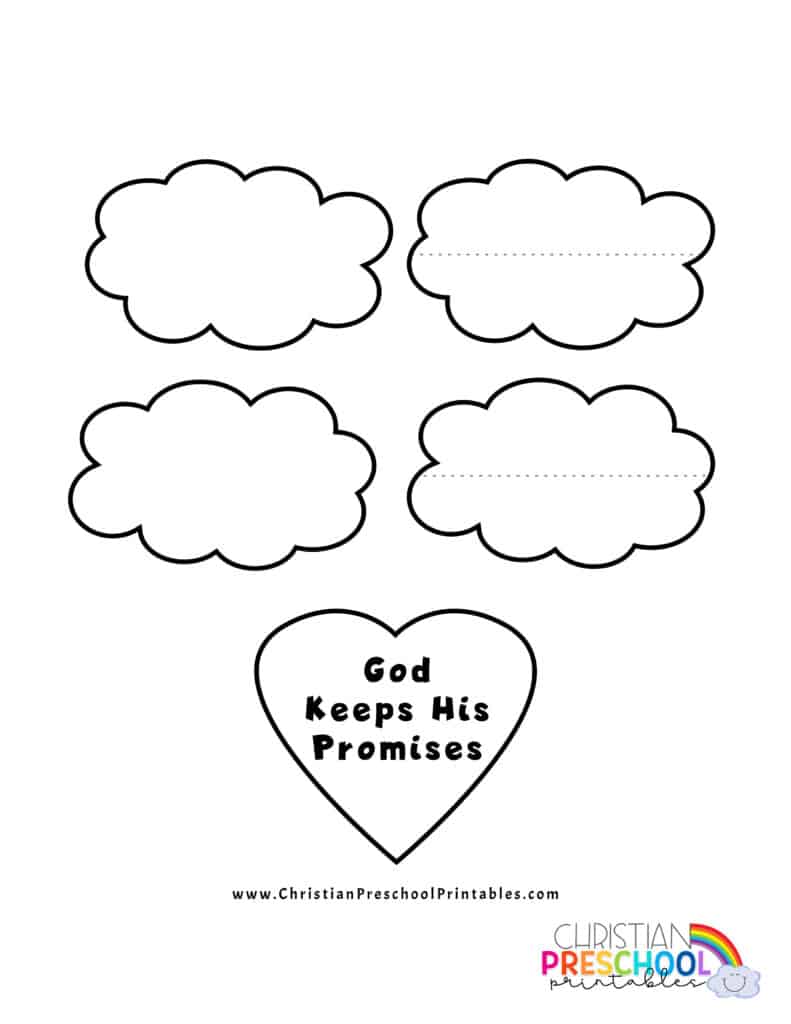
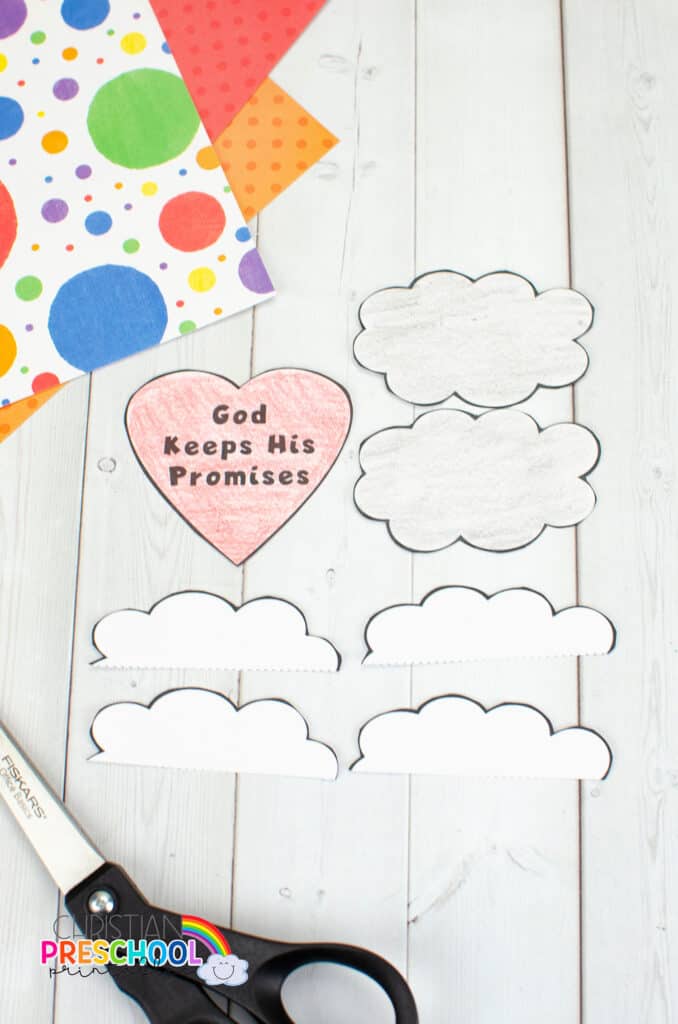
5. Now print the Noah’s Ark template. Color the two clouds without the dashed line gray and the heart red. Cut out all the template pieces. Also cut down the dashed line on two of the clouds.
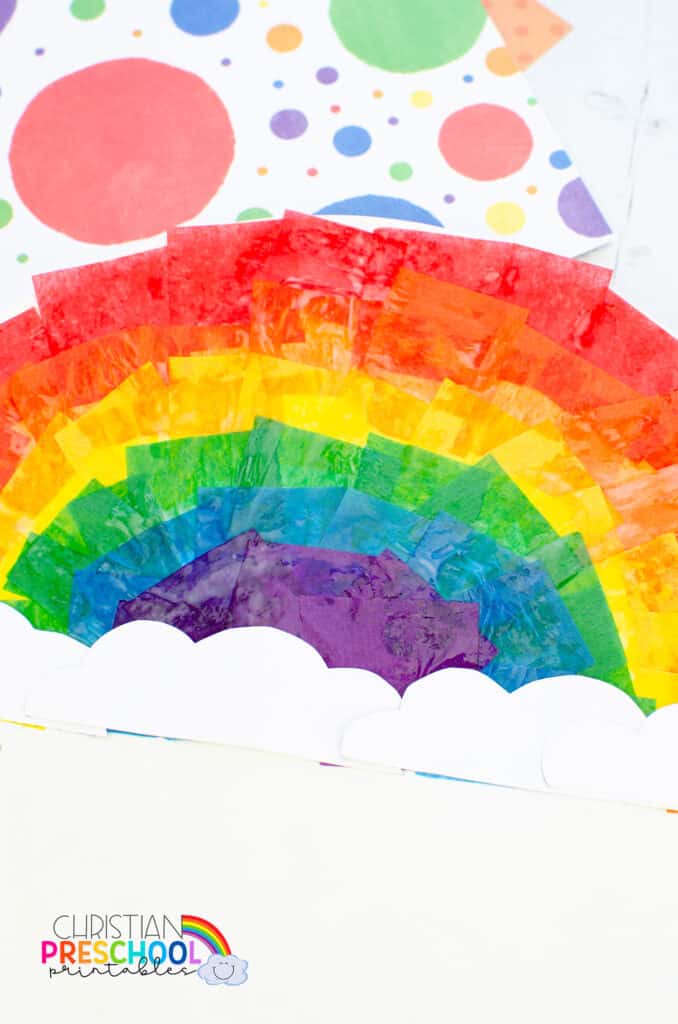
6. Then take the 4 cloud pieces (the half cloud shapes) and glue them to the bottom of the rainbow. Make sure they are above the line separating the two halves.
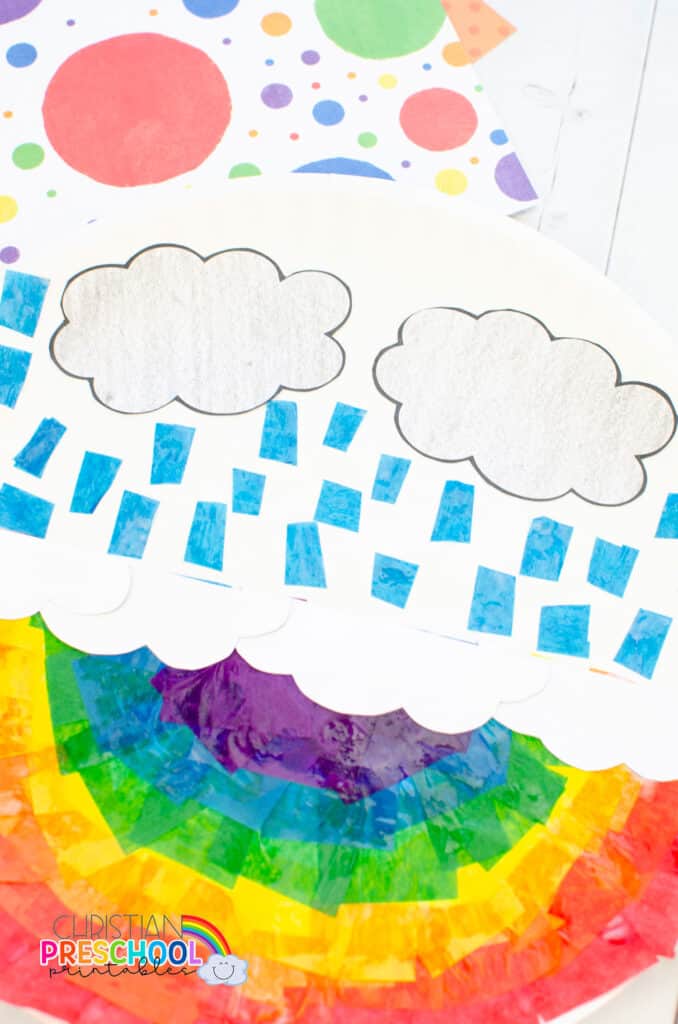
7. Next turn the plate so the rainbow is on the bottom, this blank half will have the rain.
8. Glue the two gray clouds toward the top of the plate. Then glue a bunch of the blue tissue paper pieces for the rain. Take the paintbrush and spread glue over the tops of the blue tissue paper pieces to make sure they are sealed down.
9. Now take the other plate and cut an ark shape. You’ll want to cut the sides to be an even line with half the plate, the ‘house’ part on the top can be any size.

10. Then take brown tissue paper and cut it into pieces.
11. Next take pieces of brown tissue paper and using glue and a paintbrush, stick onto the ark shaped plate.
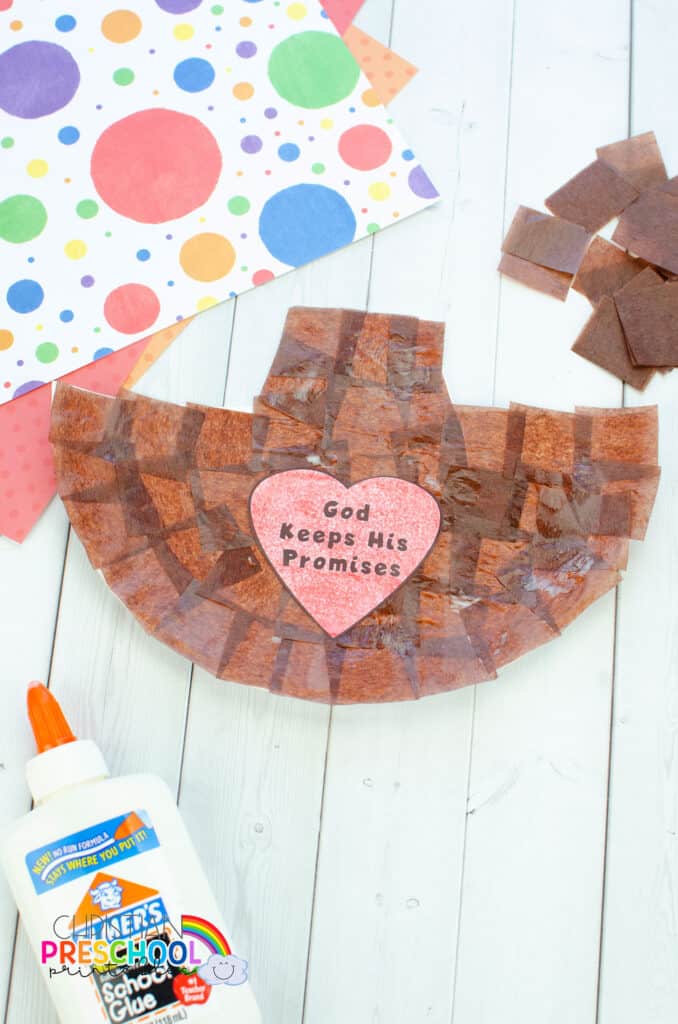
12. Once the whole ark is covered, use the paintbrush and a little more glue to seal in all the edges.
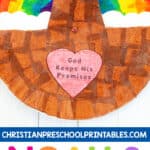
13. Take the heart and glue it to the ark.
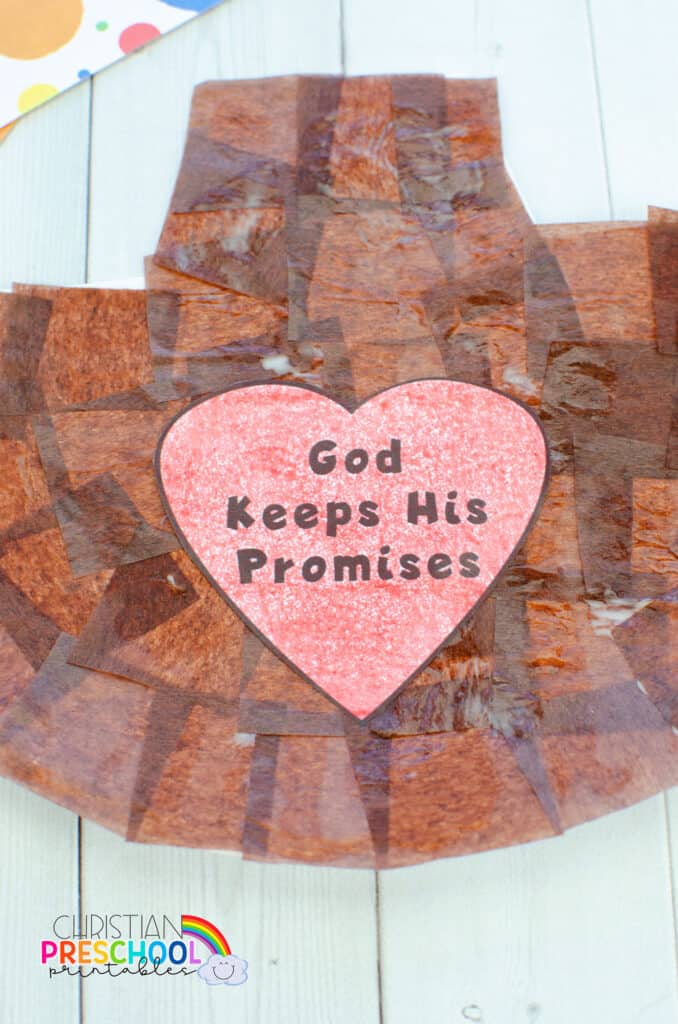
14. Once everything is dry, align the plates and poke a hole in the center of both plates. This can be done by an adult with a craft knife or the tip of scissors.
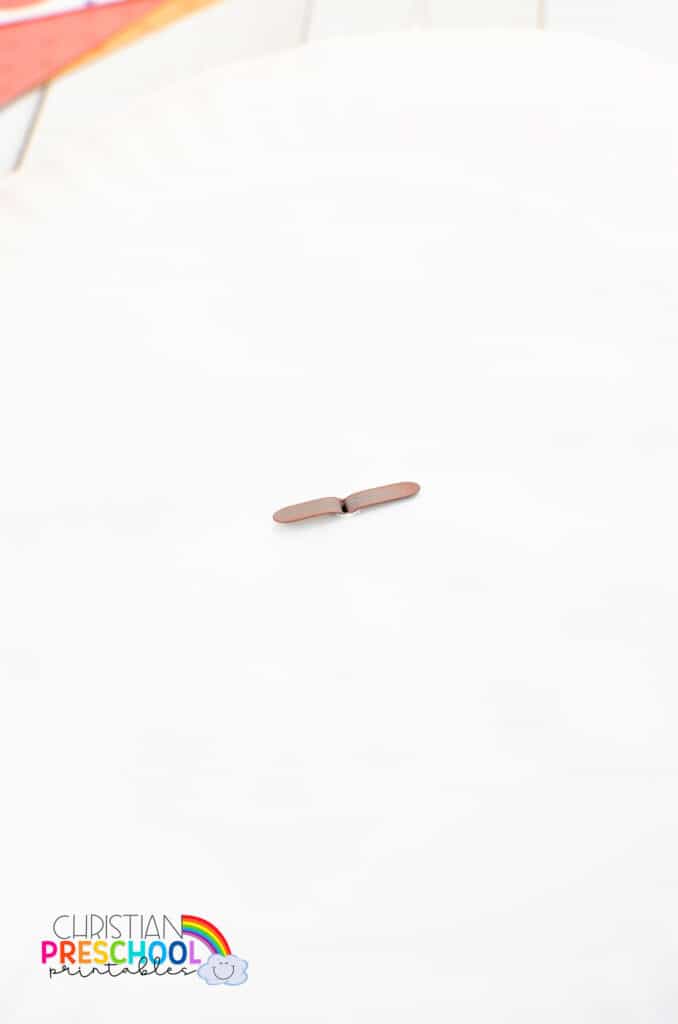
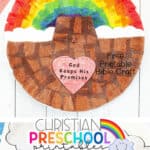
15. To complete the craft, put the brass fastener through the ark then through the rainbow/rain plate and fasten on the back.
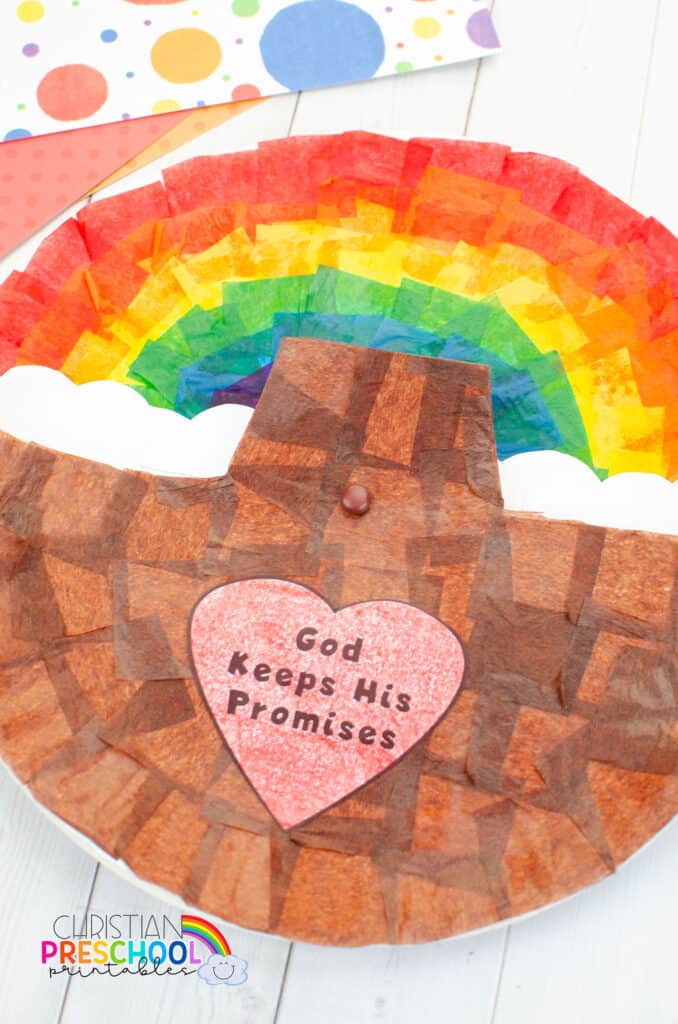
You are finished! Now you can spin the plate to go from rainy to rainbow.
Need more bible craft ideas? Try our rainbow crafts for kids!

Leave a Reply