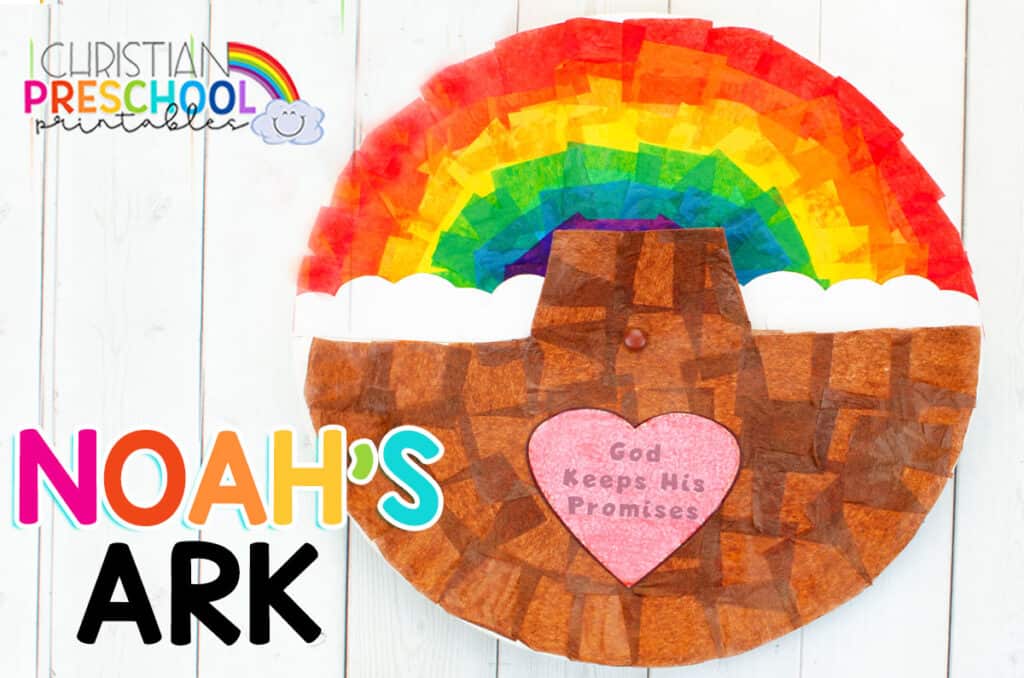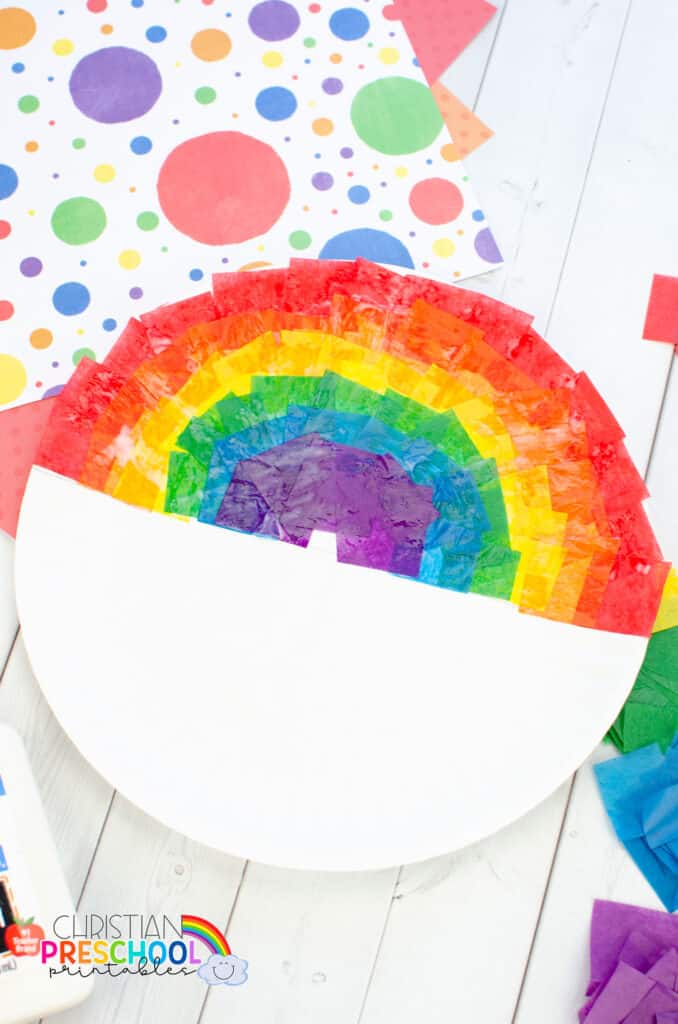
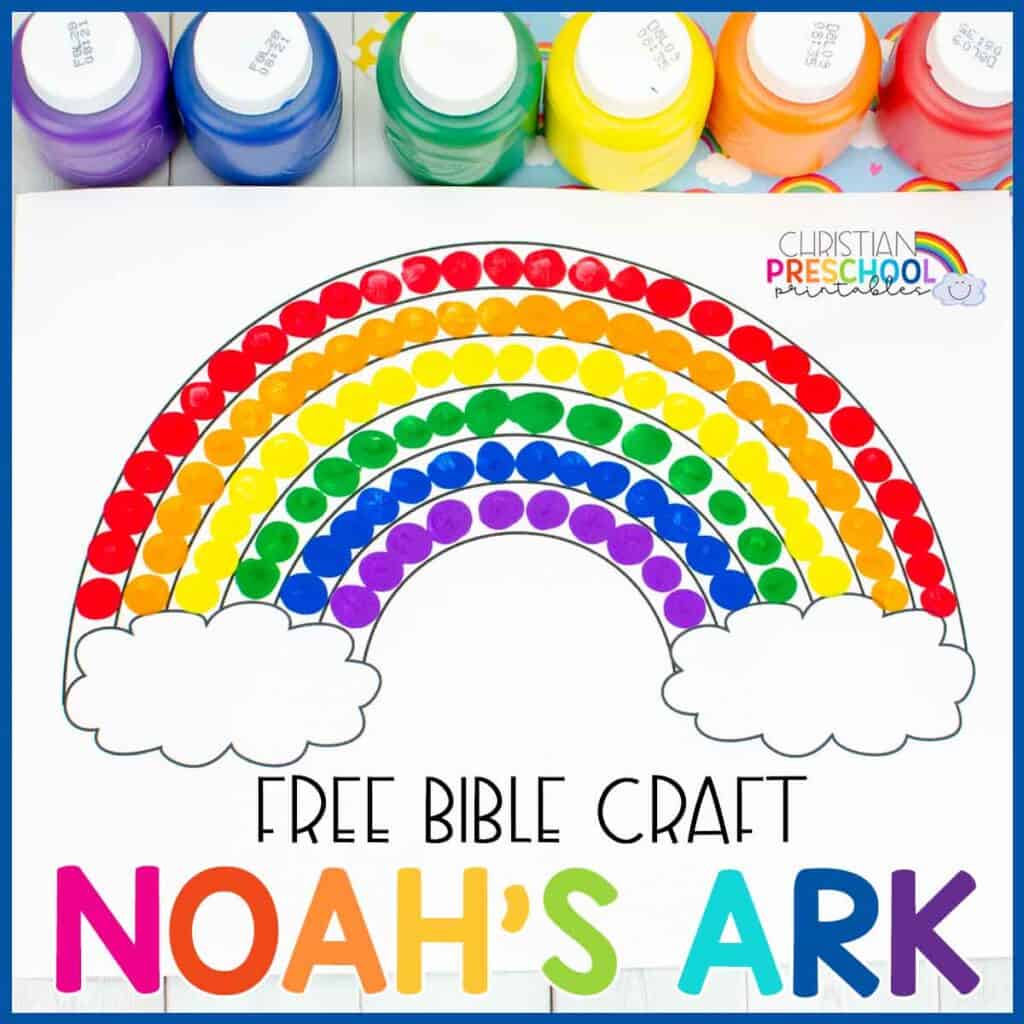
The rainbow is a beautiful reminder of God’s promise to us. It’s also a great tool to use to teach your children of God’s love and amazing attributes. We have another easy rainbow craft that involves more simple materials found at home or classroom.
Plus, with a step by step visual guide and a video tutorial, you can’t go wrong with this craft. Whether you need a rainbow or Noah’s ark bible craft for home, classroom, camp, or Sunday School, our Rainbow Craft Preschool Themed Activity can be put together easily. And, this one is extra fun using handprints and fingerprints from your precious kids!
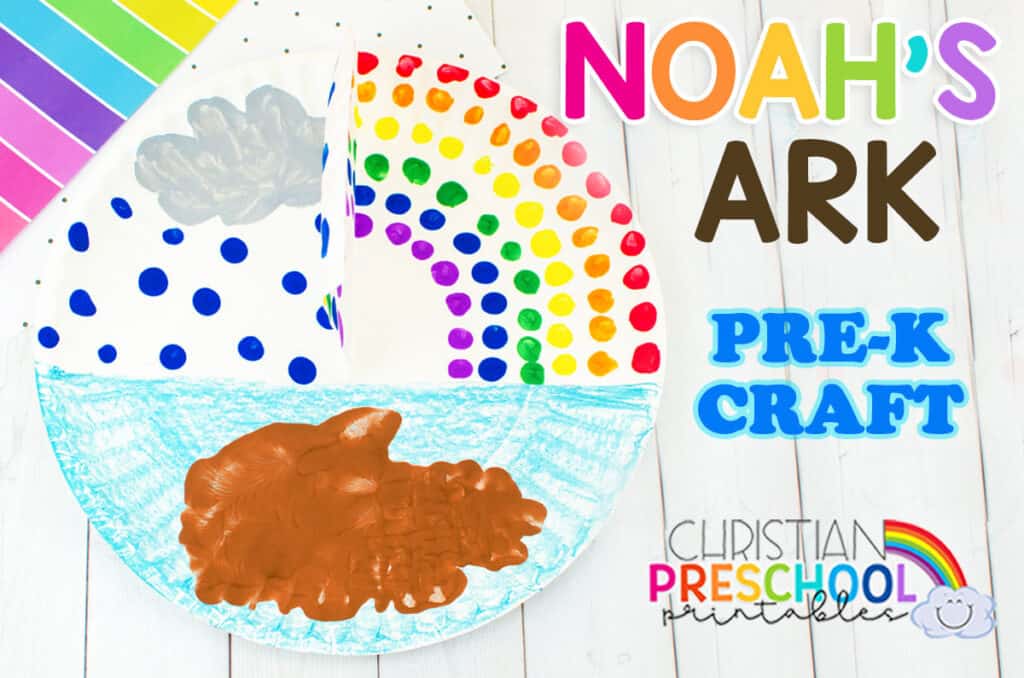
Rainbow Craft for Kids with Paint and Popsicles
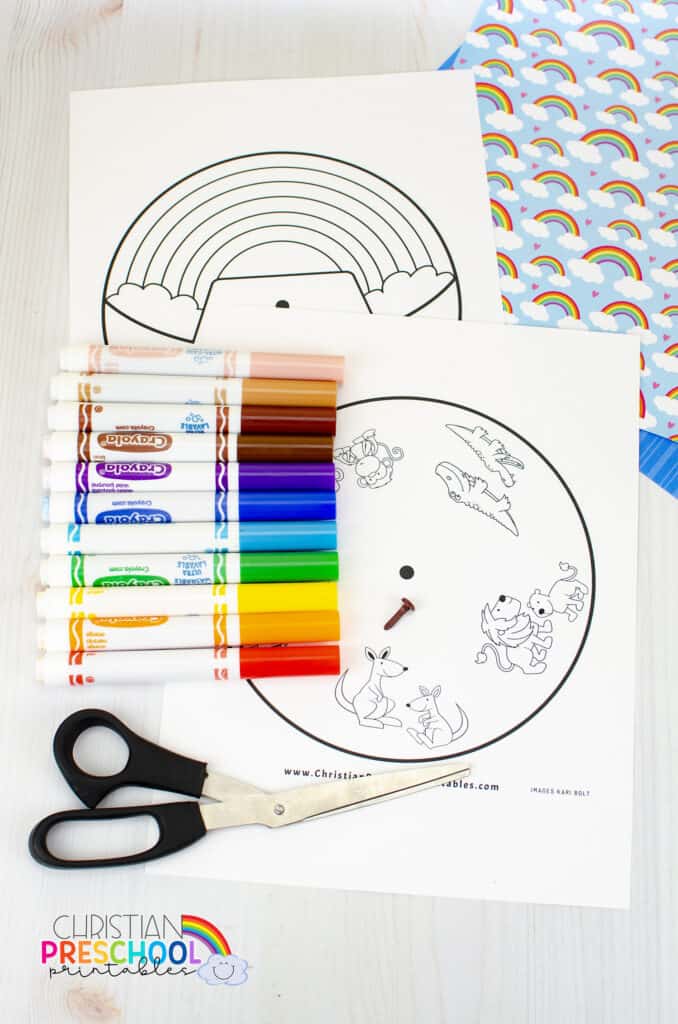
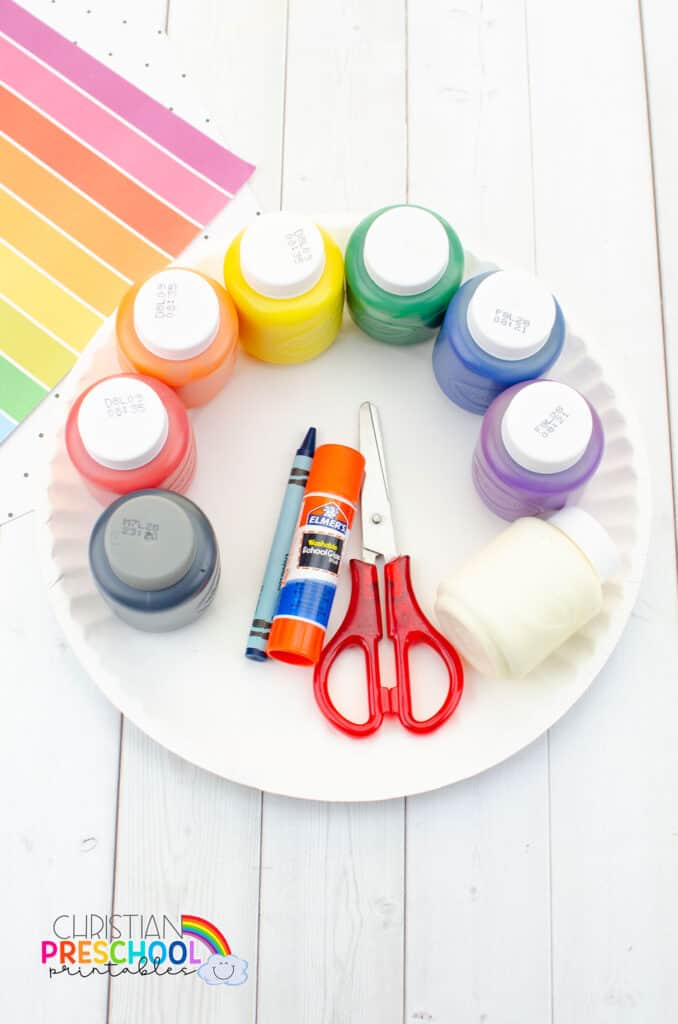
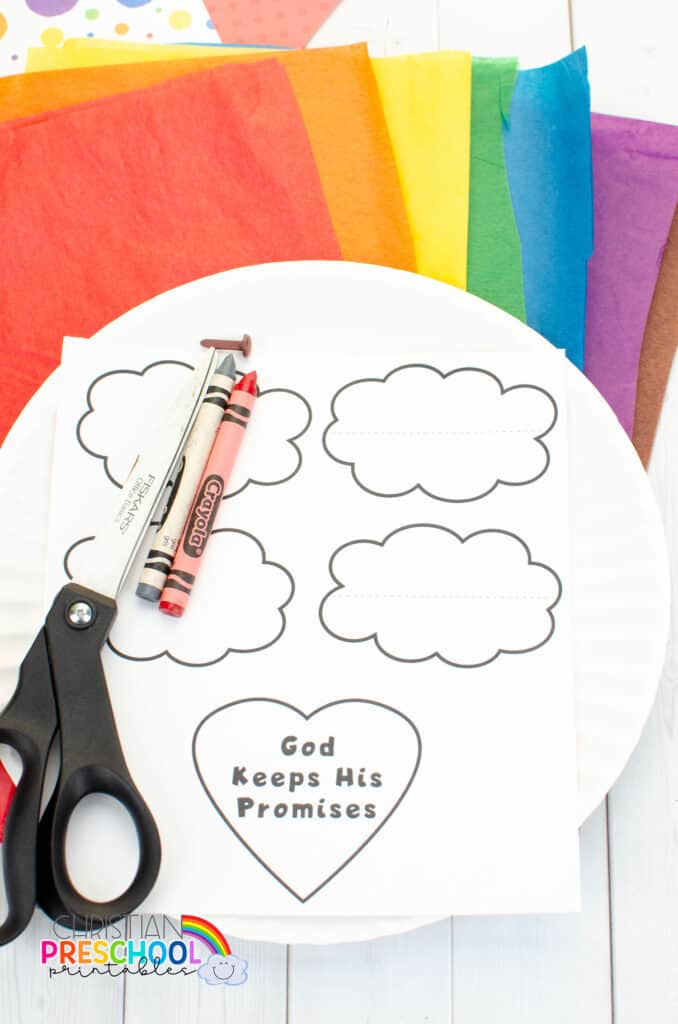
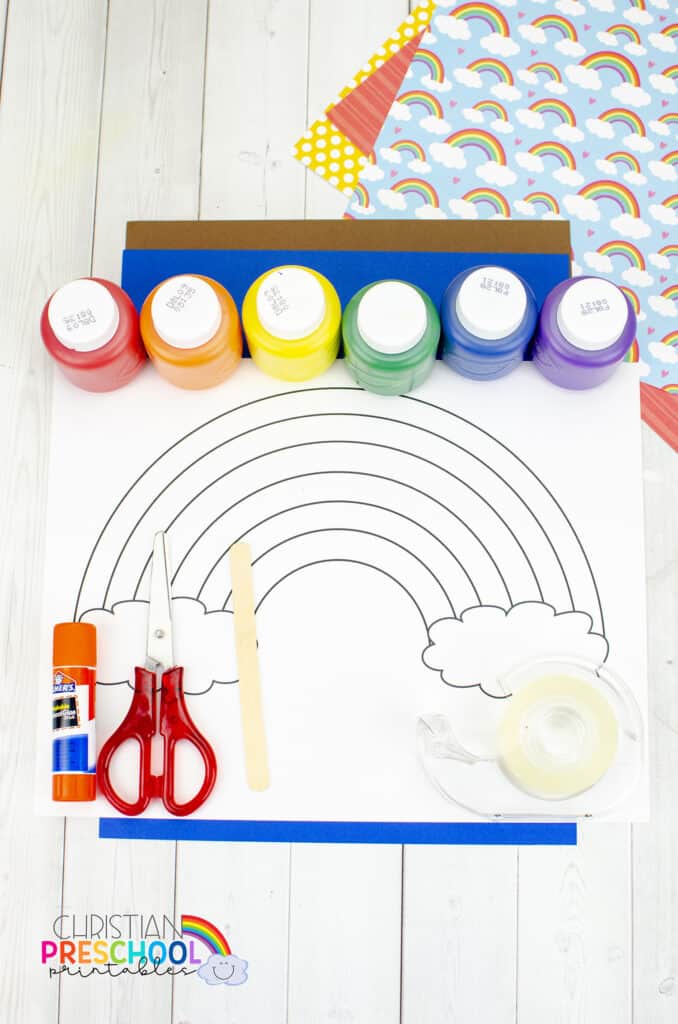
Rainbow Craft Supplies
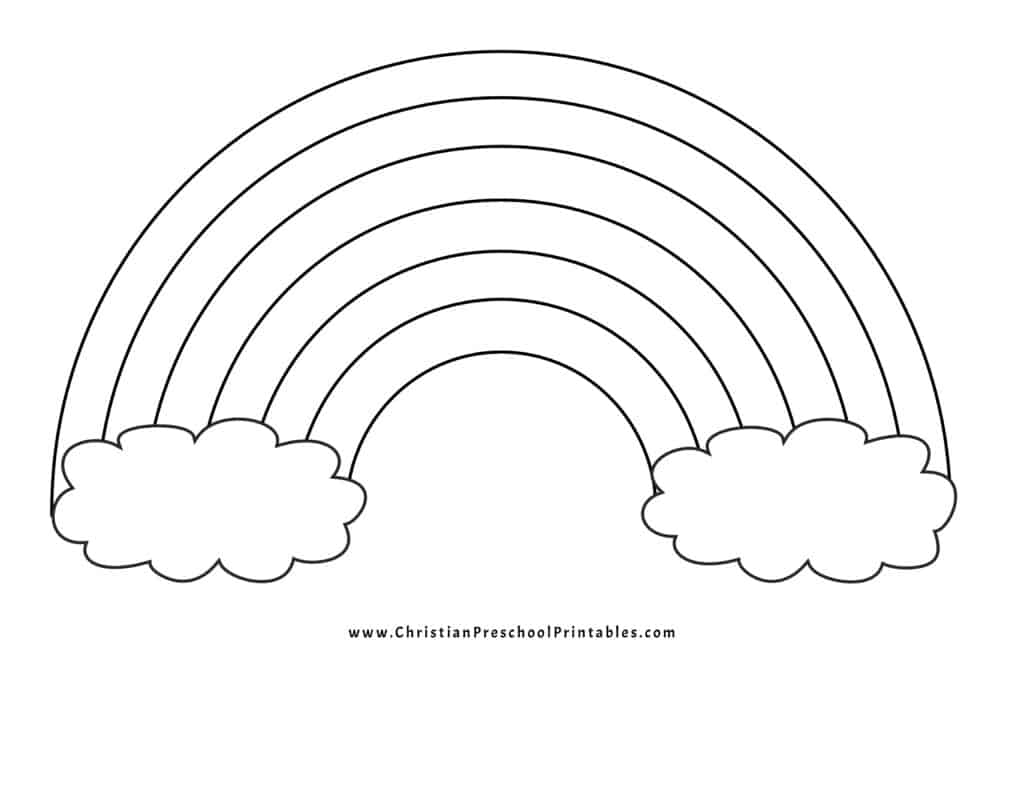
- Rainbow Craft Template
- Paints: all colors of the rainbow
- White, Blue and brown cardstock
- Scissors
- Glue
- Tape
- Popsicle stick
Rainbow Preschool Theme Craft Instructions
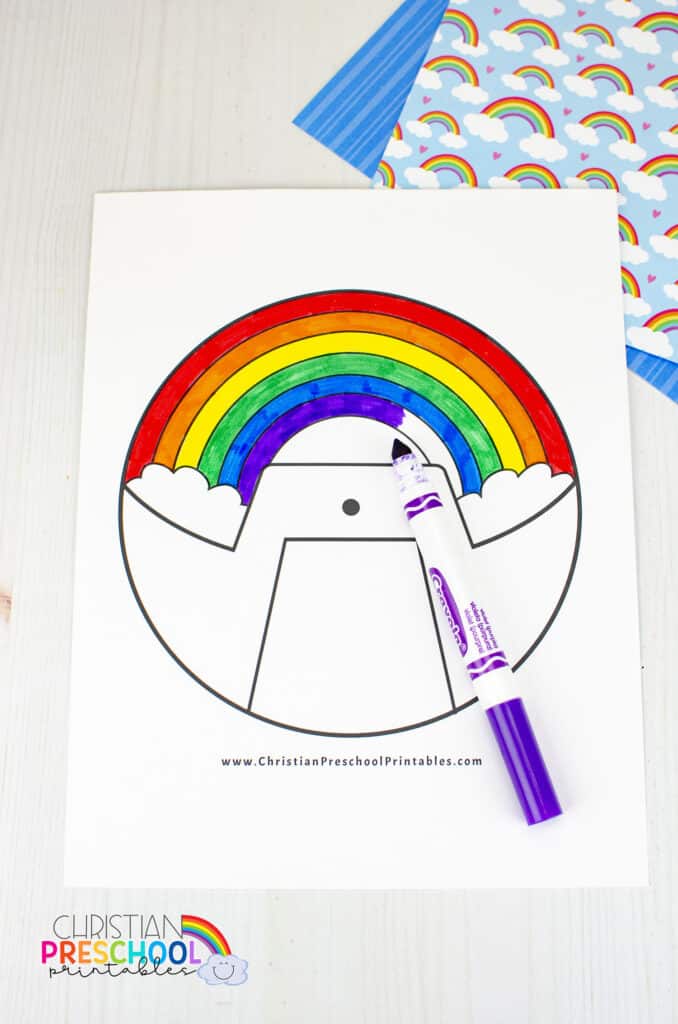
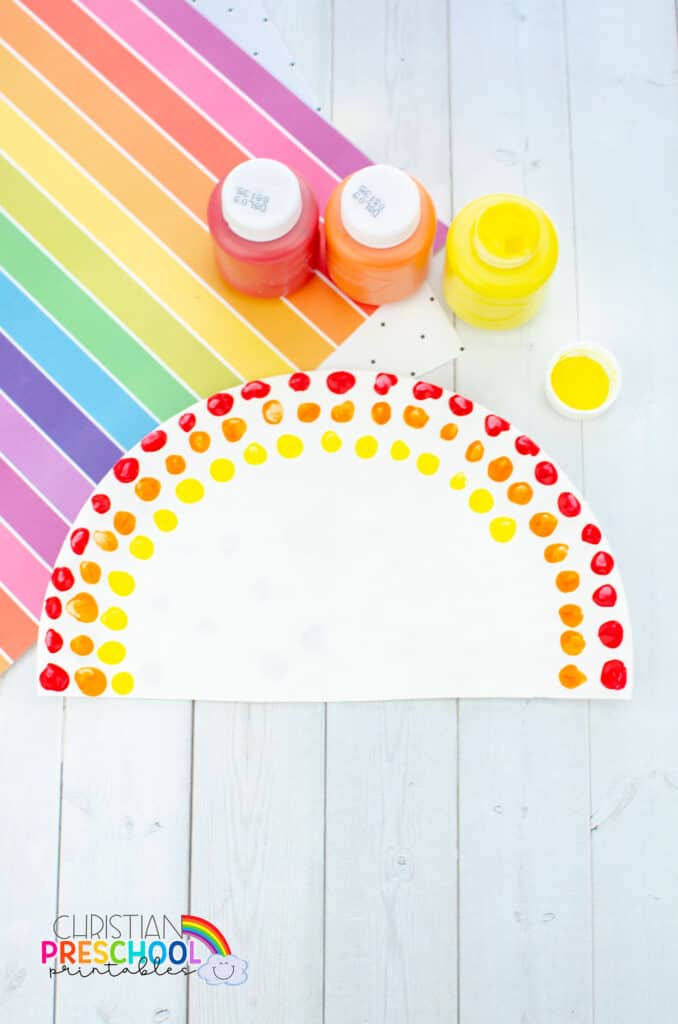
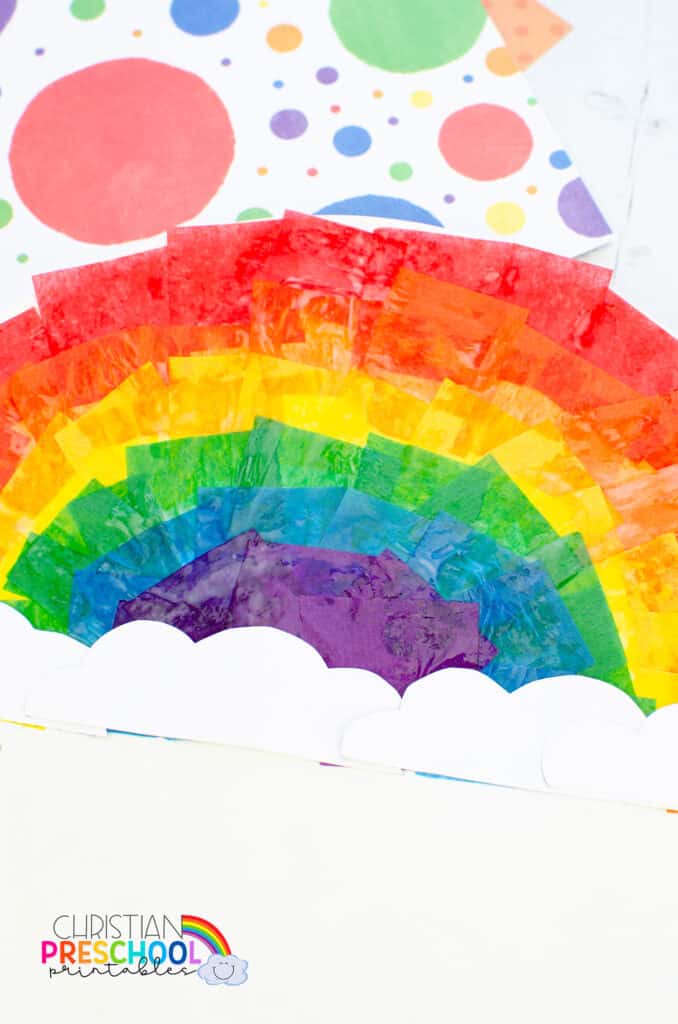
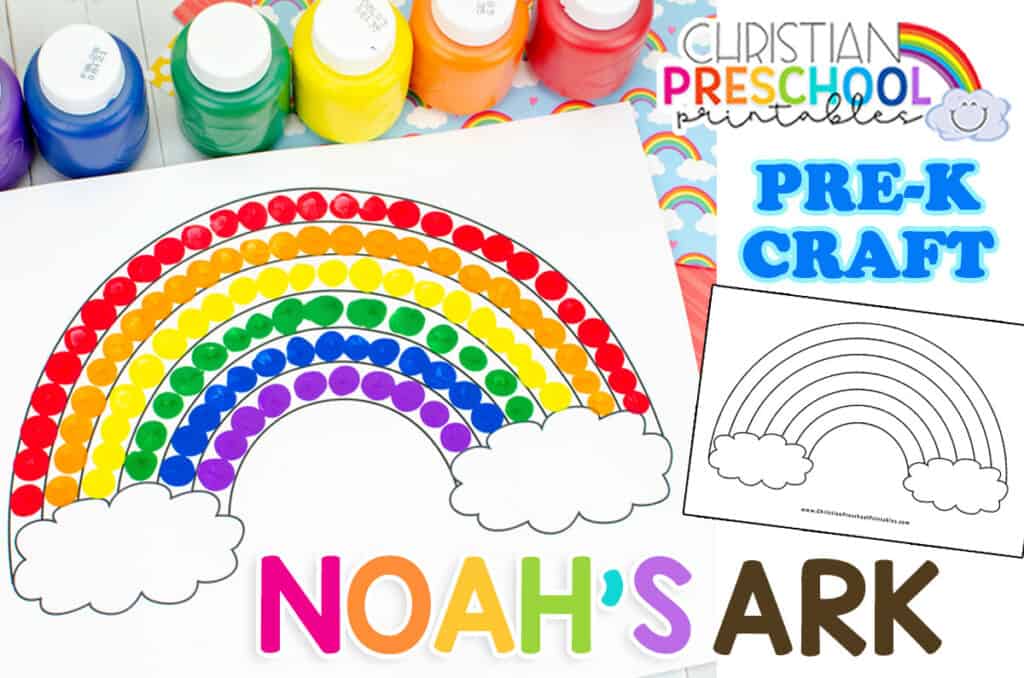
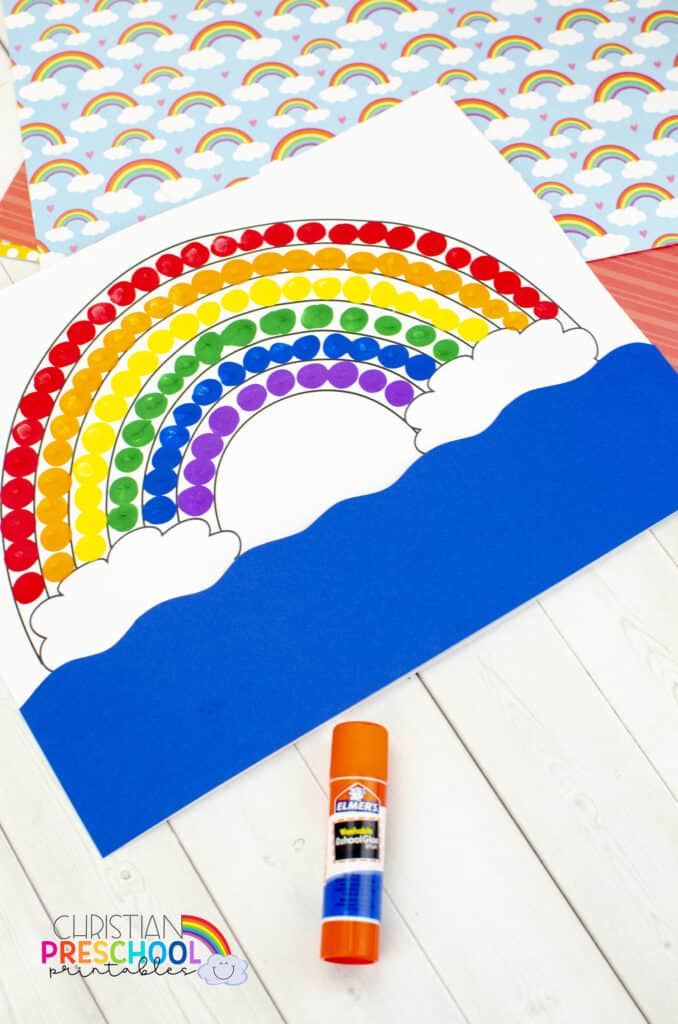
1. First print the rainbow craft template on the white cardstock.
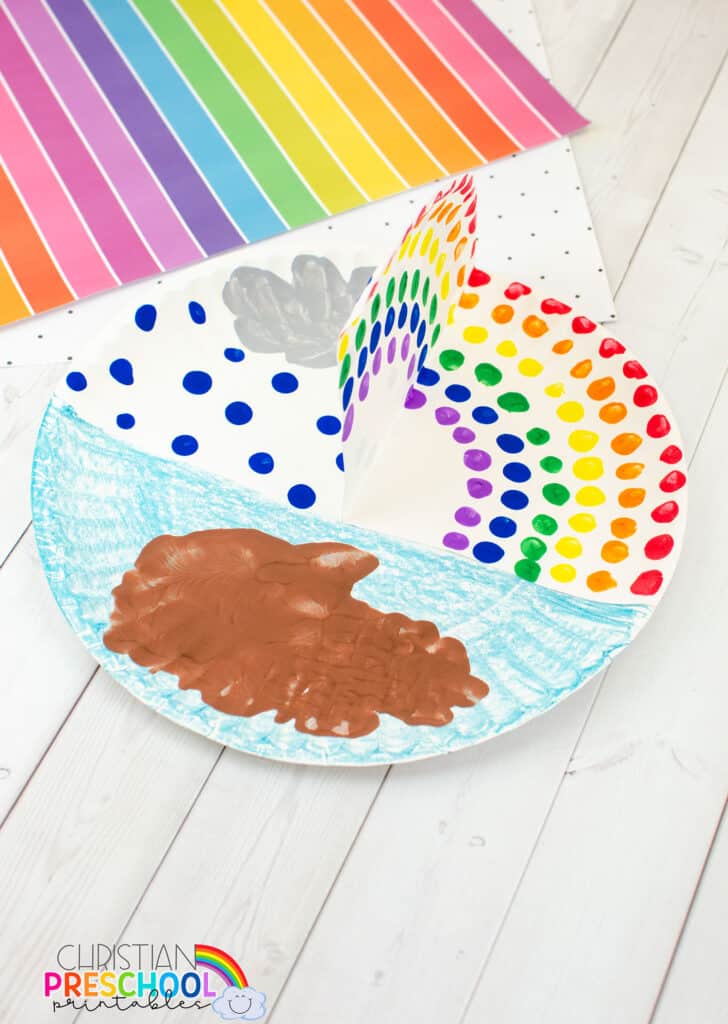
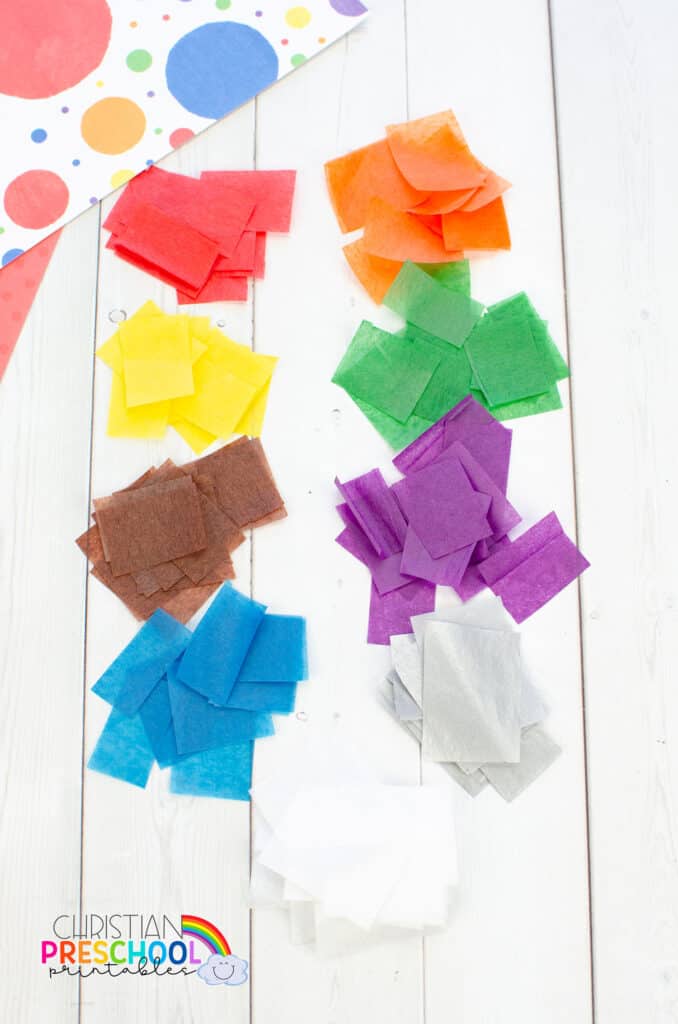
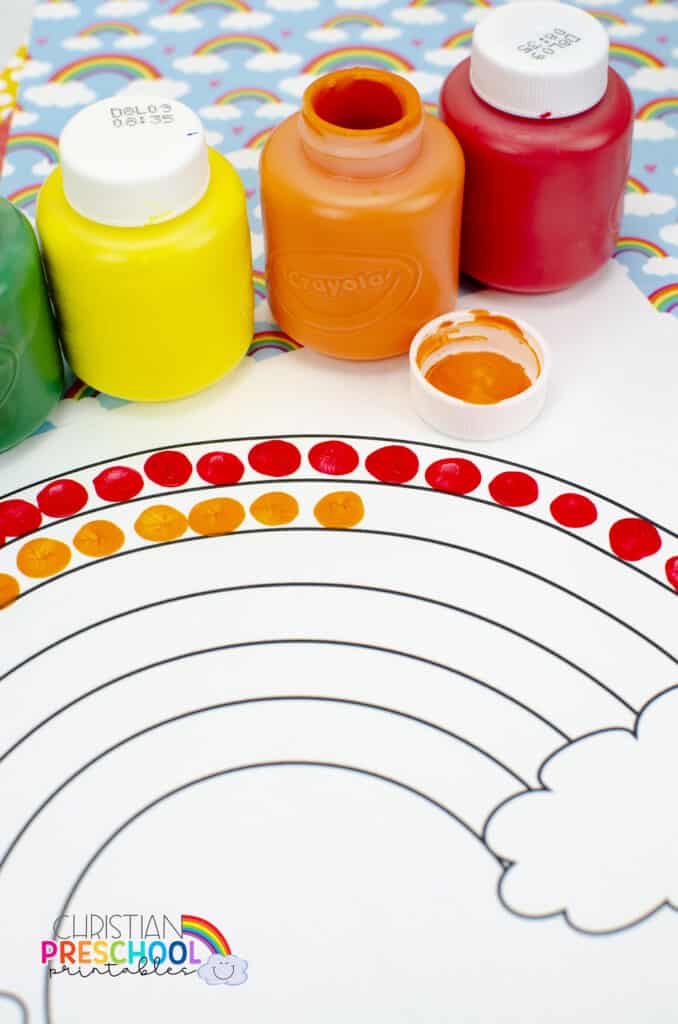
2. Then starting with red, make fingerprints with the paint along the first rainbow row. Repeat with all the colors of the rainbow going a row inward with each color.
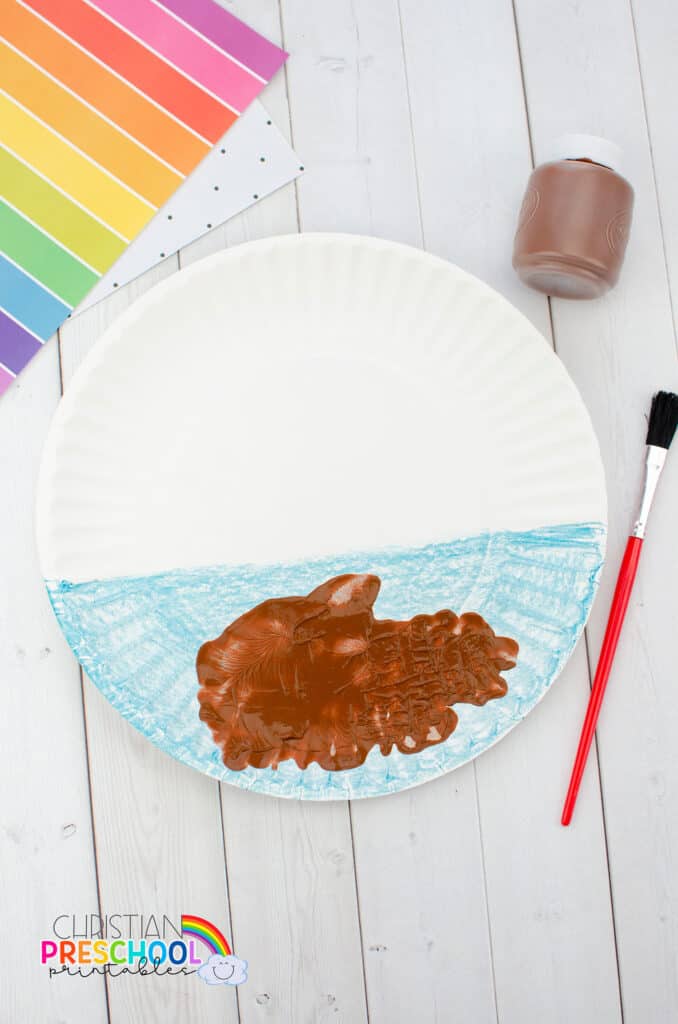
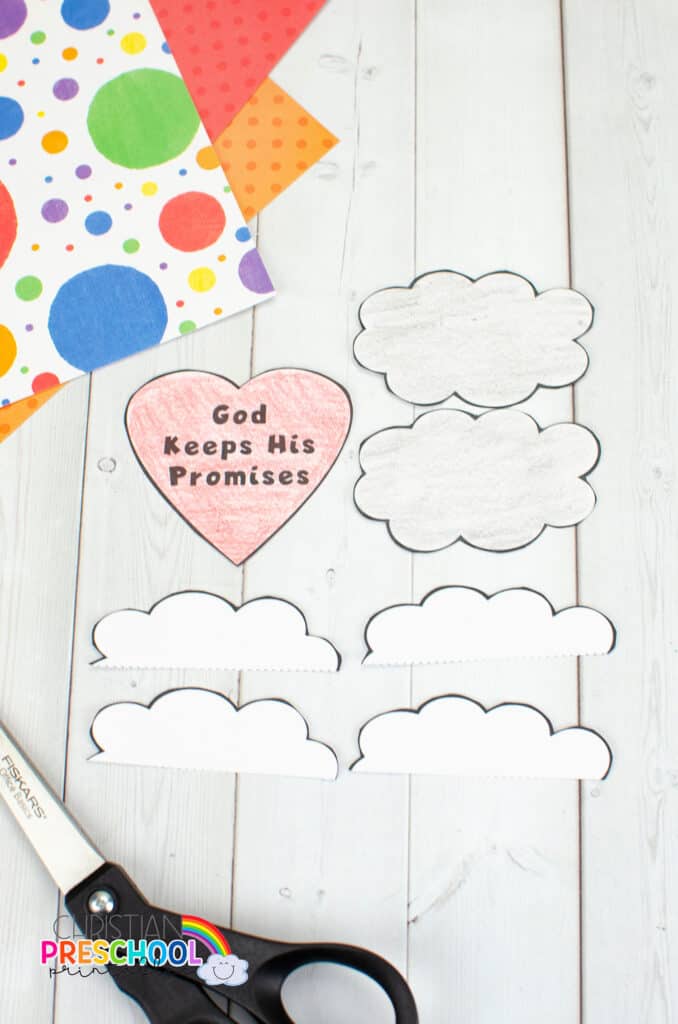
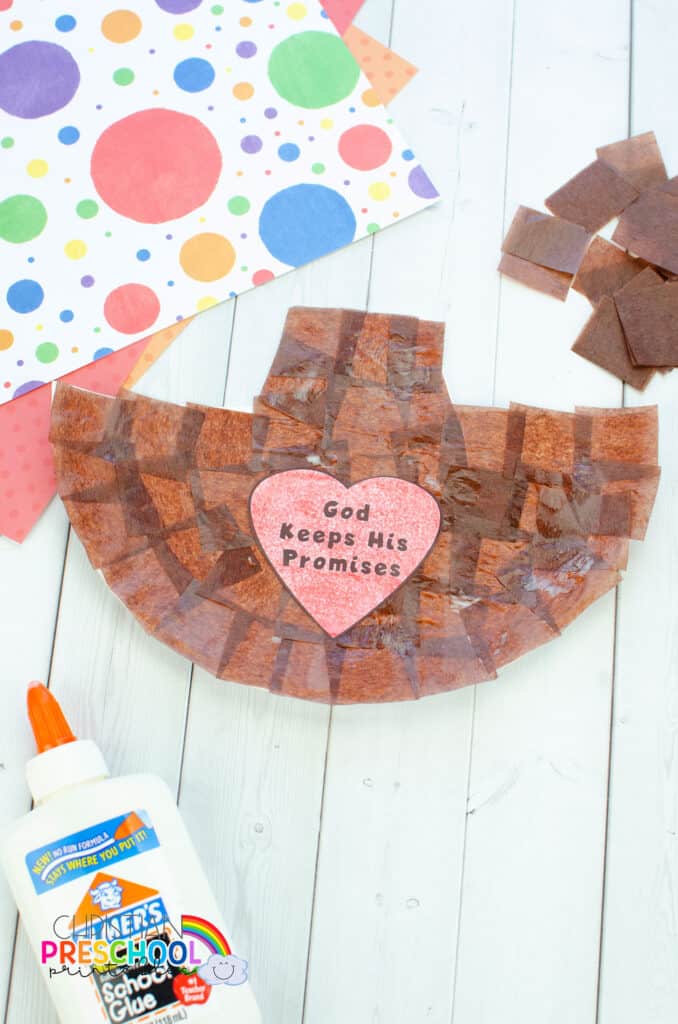
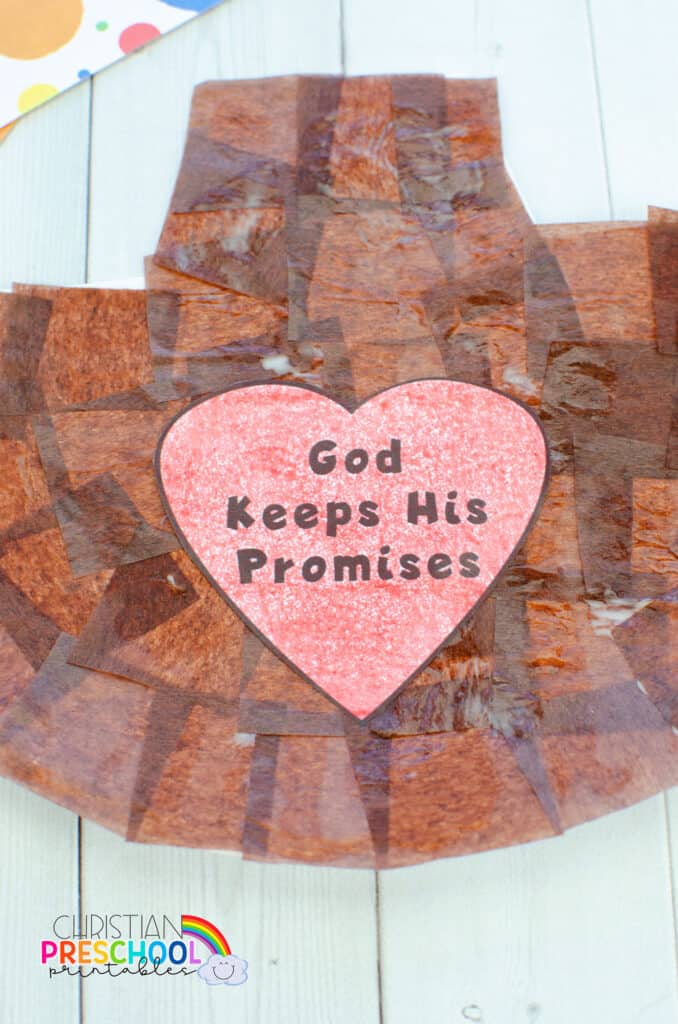
3. Now take the brown paper and trace the child’s hand with all the fingers tucked in to create an ark.
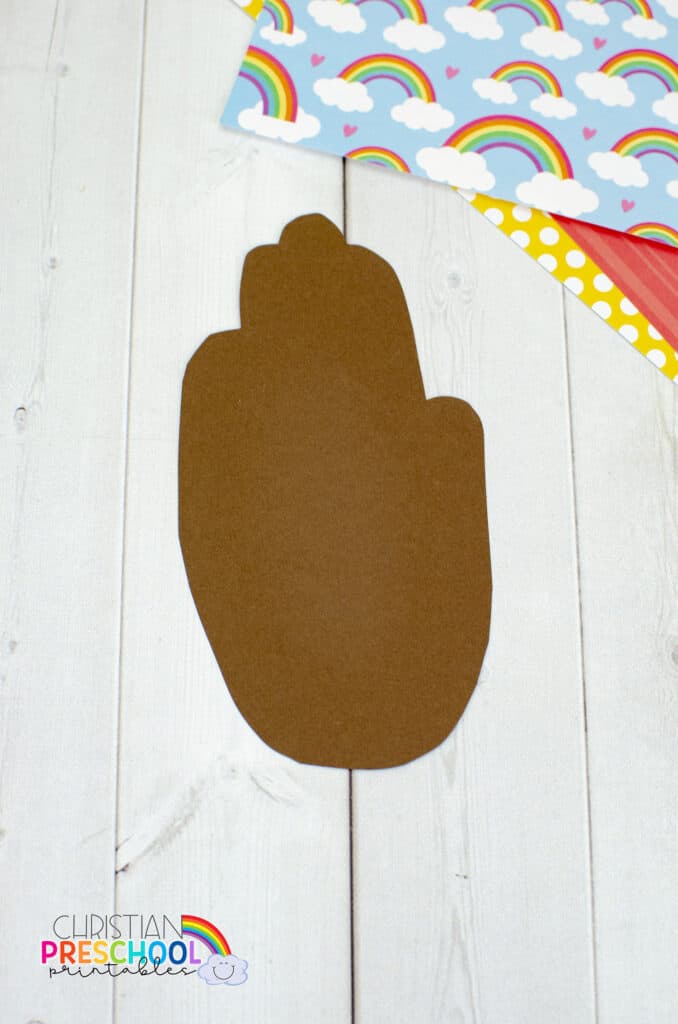
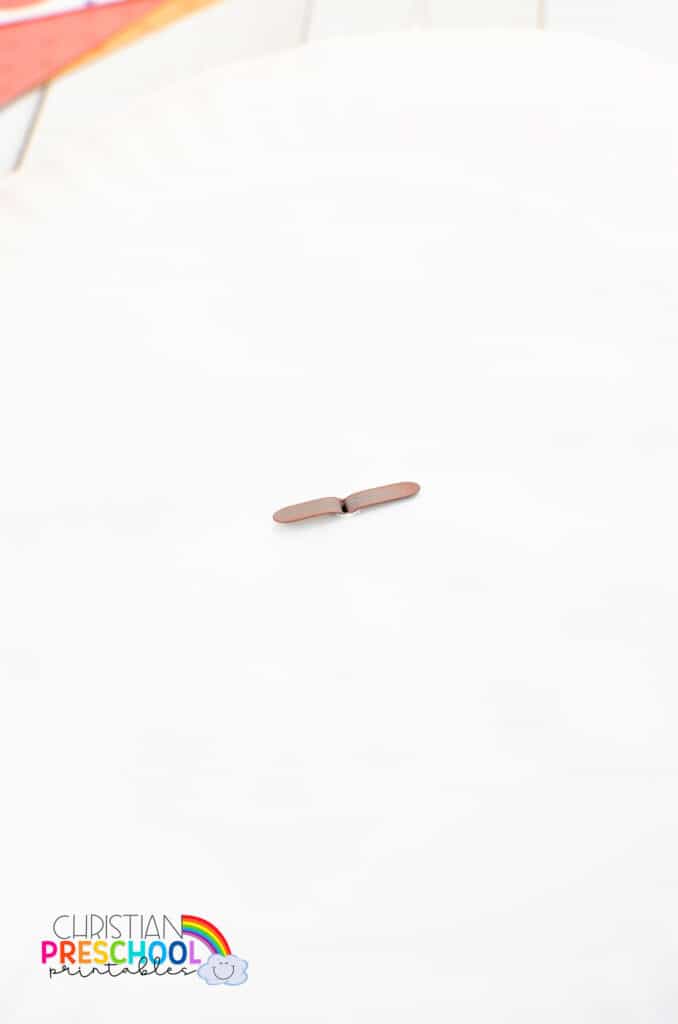
4. Cut the handprint out and tape or glue the popsicle stick to the back.

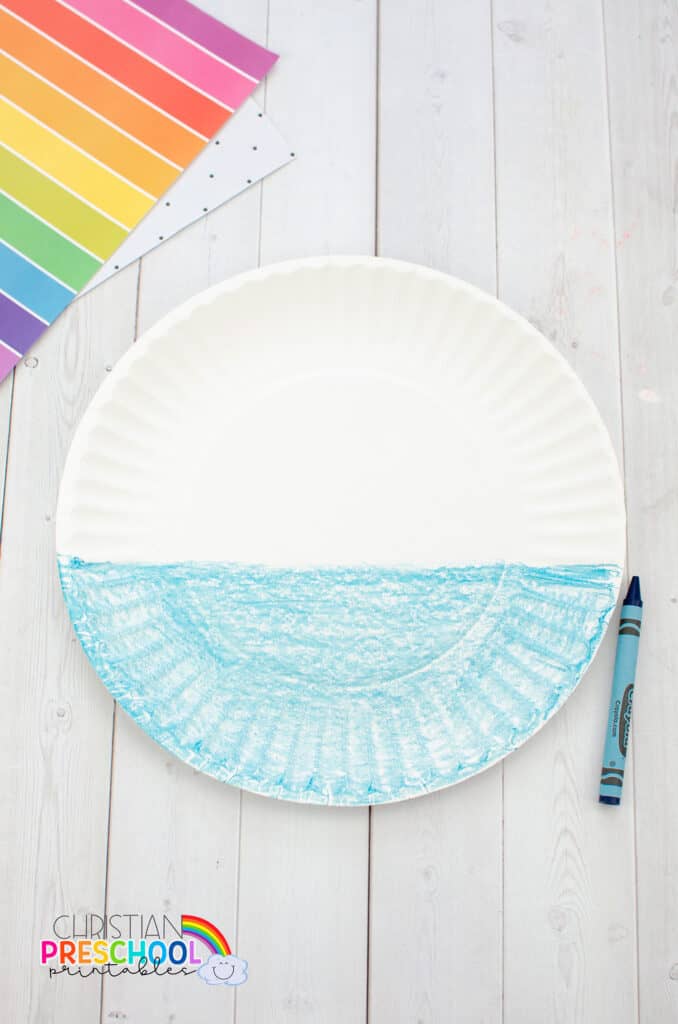
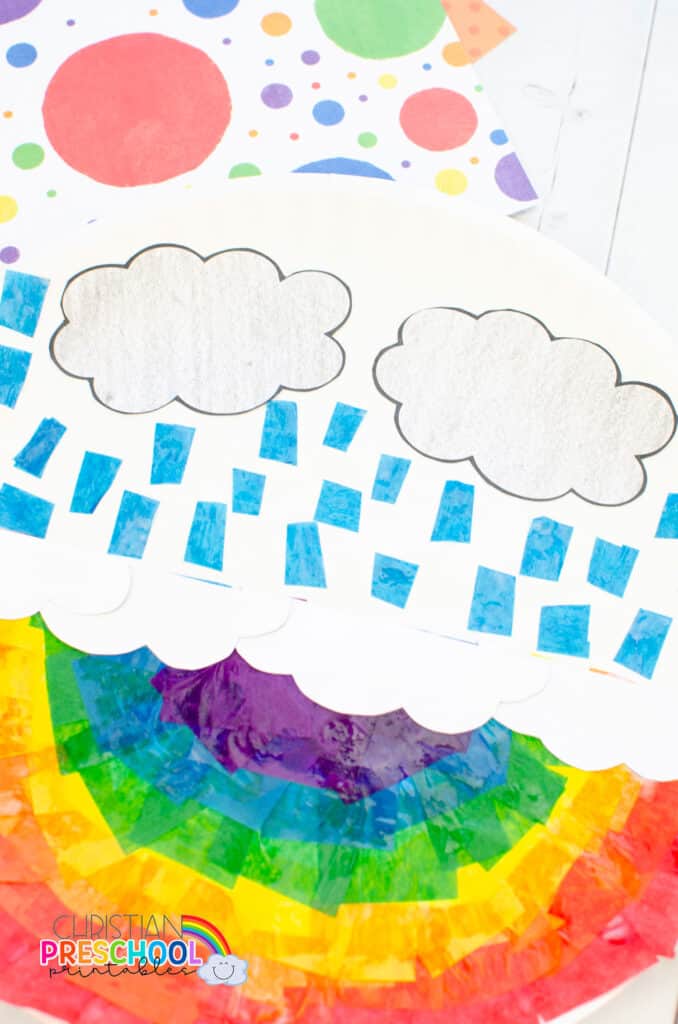
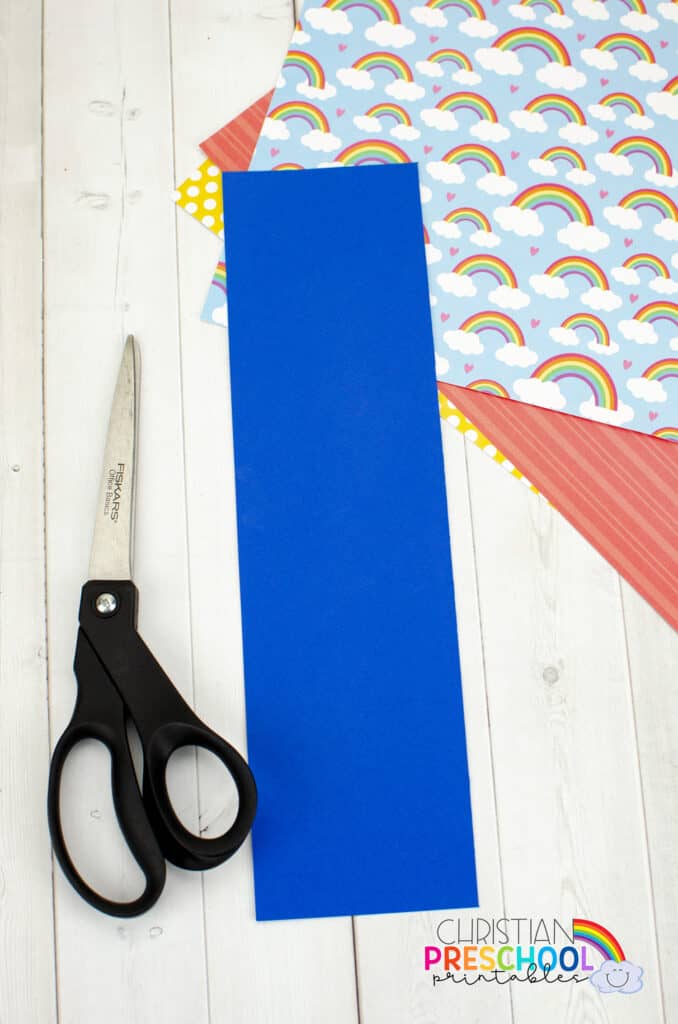
5. Next cut a strip of blue paper about 3” wide. Now cut a wave pattern from one of the edges.
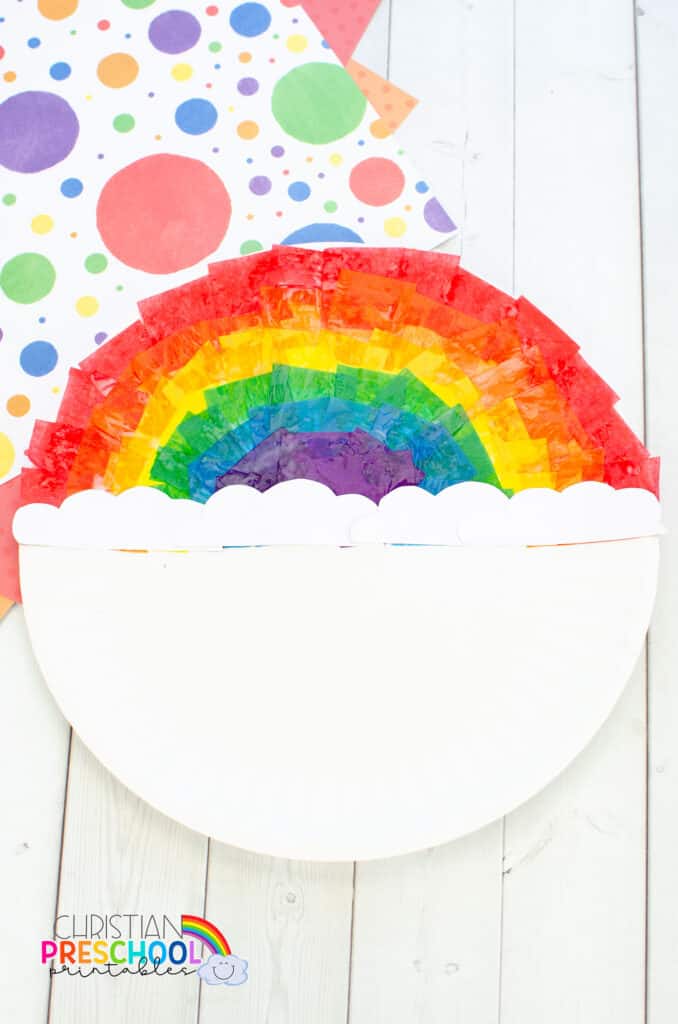
6. Now glue only the sides of the blue paper to the rainbow template, leaving the top and bottom open.
7. Now place your handprint ark in the ocean and use the popsicle stick to move it back and forth! The craft is complete!
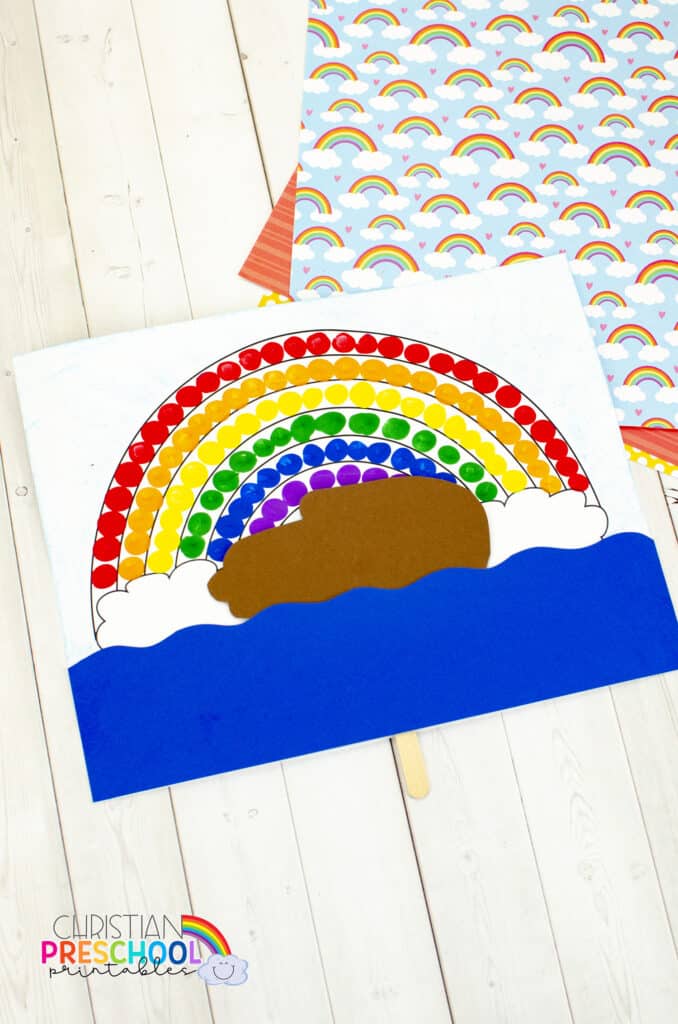
Show children how to move the stick to make the boat float in the water:
[adthrive-in-post-video-player video-id=”a1ZwTduA” upload-date=”2020-05-31T01:10:39.000Z” name=”Noah’s Ark Bible Craft” description=”null” player-type=”default” override-embed=”default”]
Looking for more Rainbow or Noah’s Ark Crafts that are super easy and adorable to make? Try these…
- Rainbow Craft for Kids
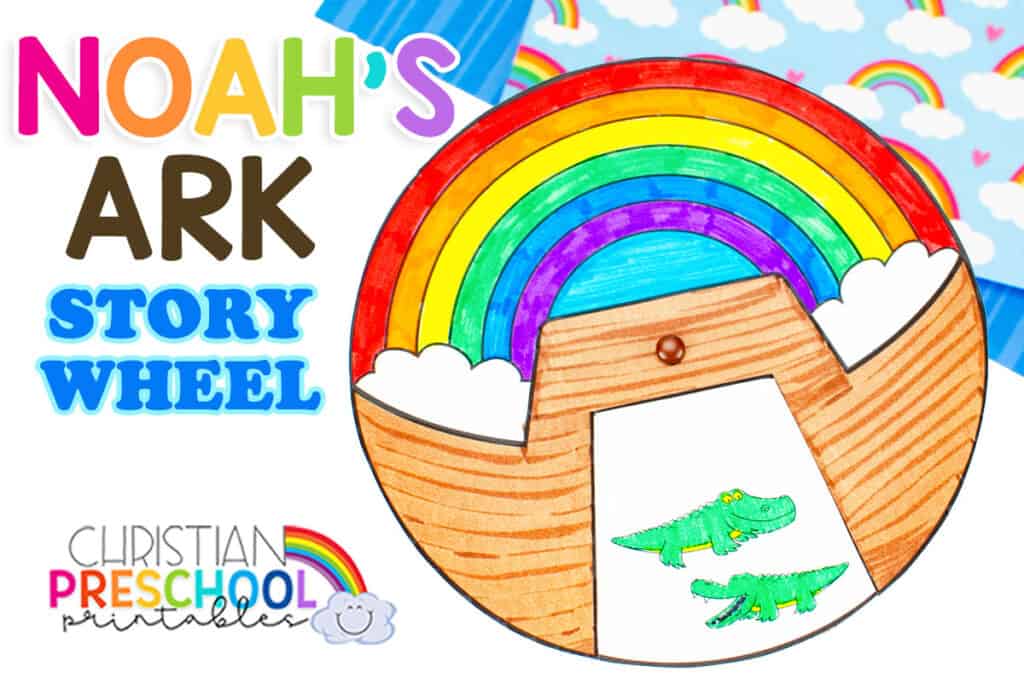
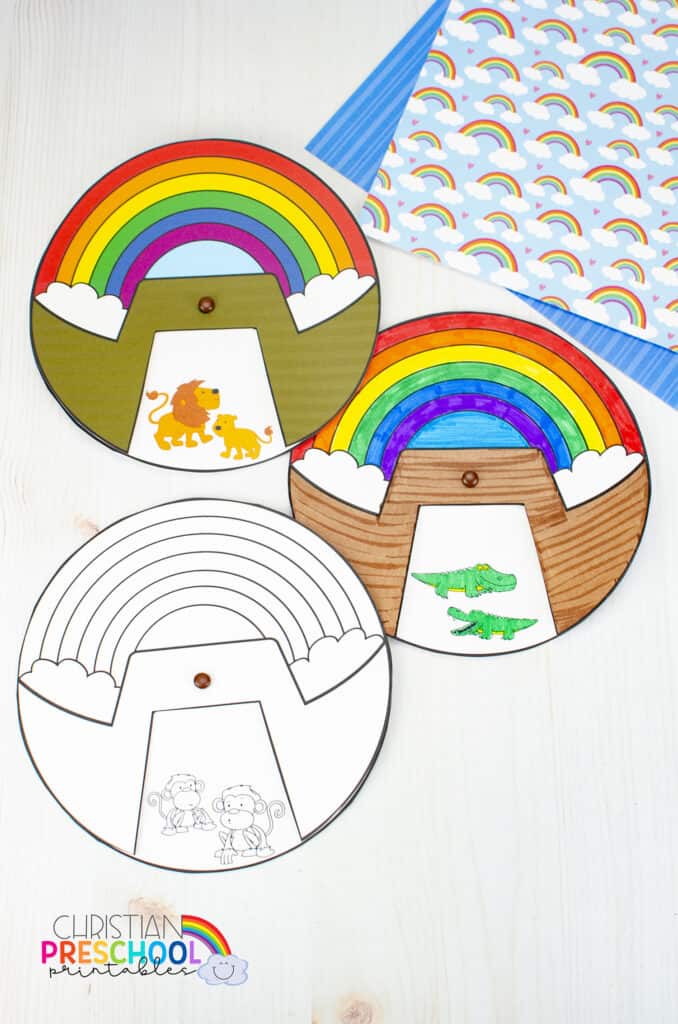
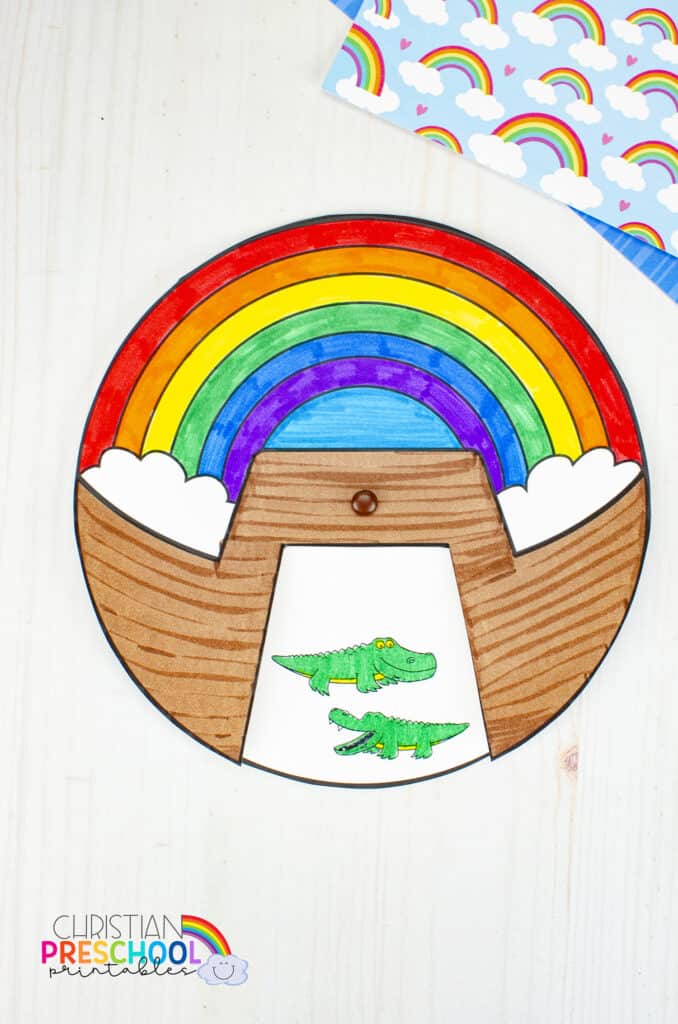
- Noah’s Ark Craft Spinner
- Noah’s Ark Craft for Preschoolers
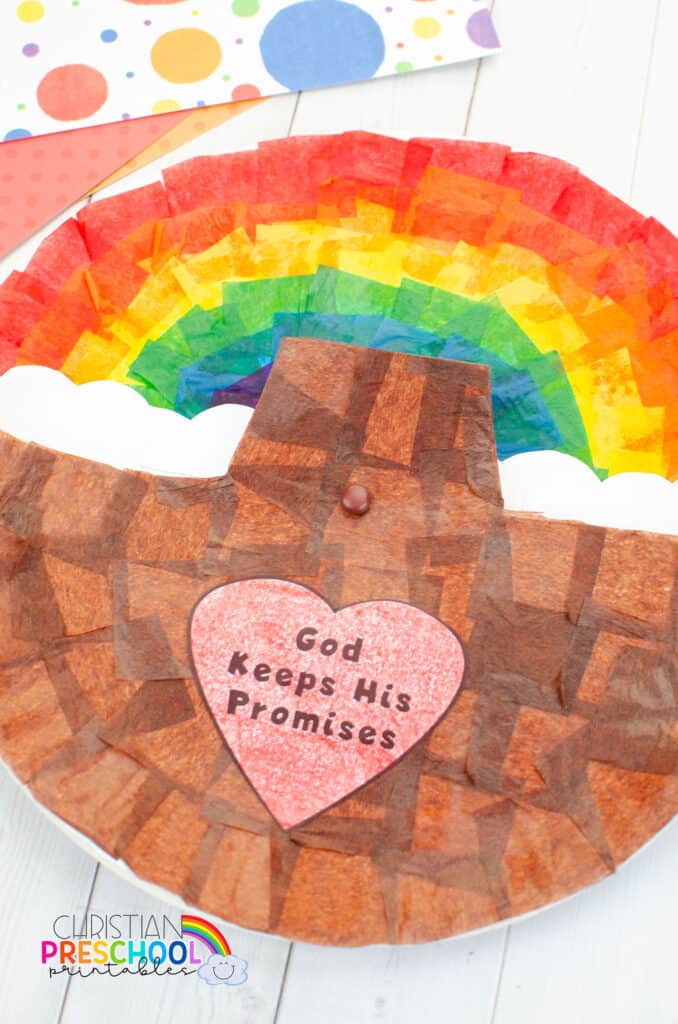
- God Keeps His Promise Rainbow Craft
- Noah’s Ark Rainbow Plate Flap Craft