Fruit of the Spirit Lessons for Preschoolers
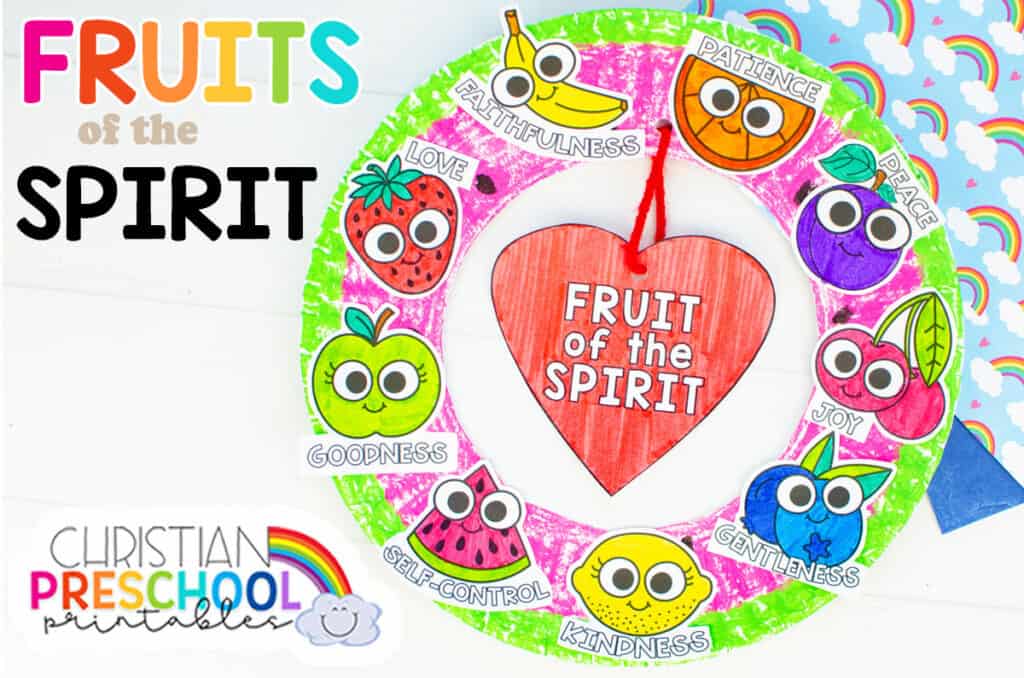
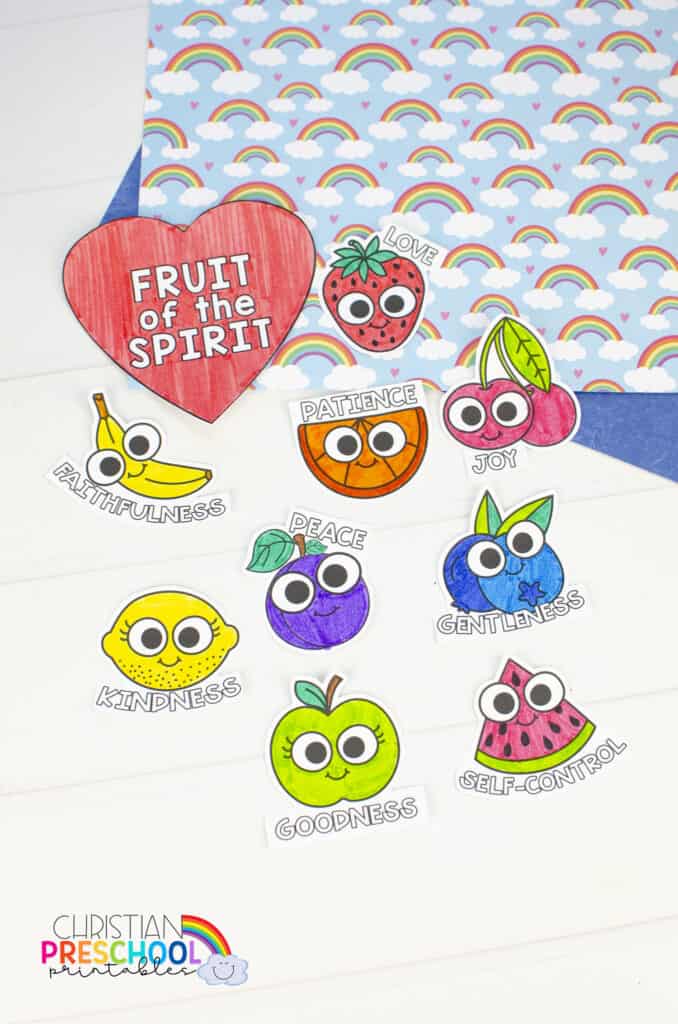
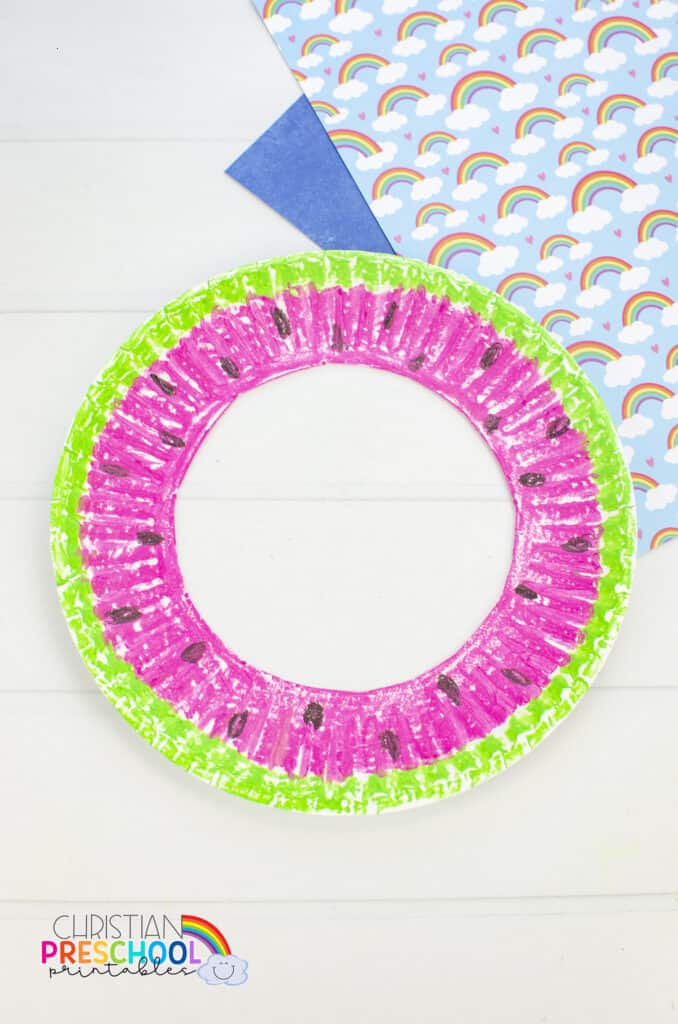
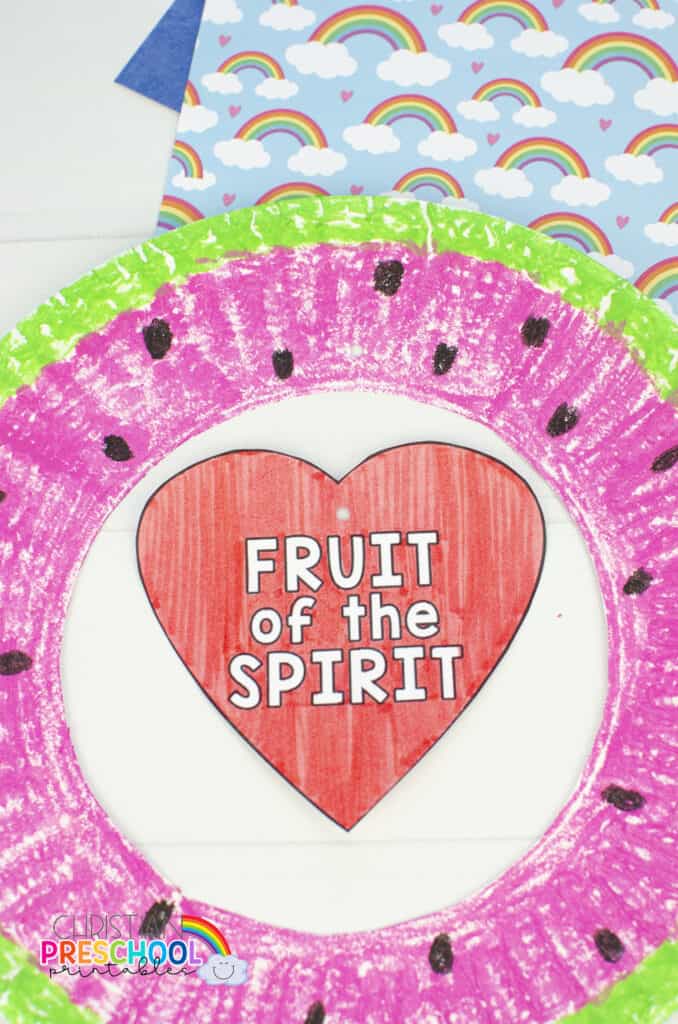
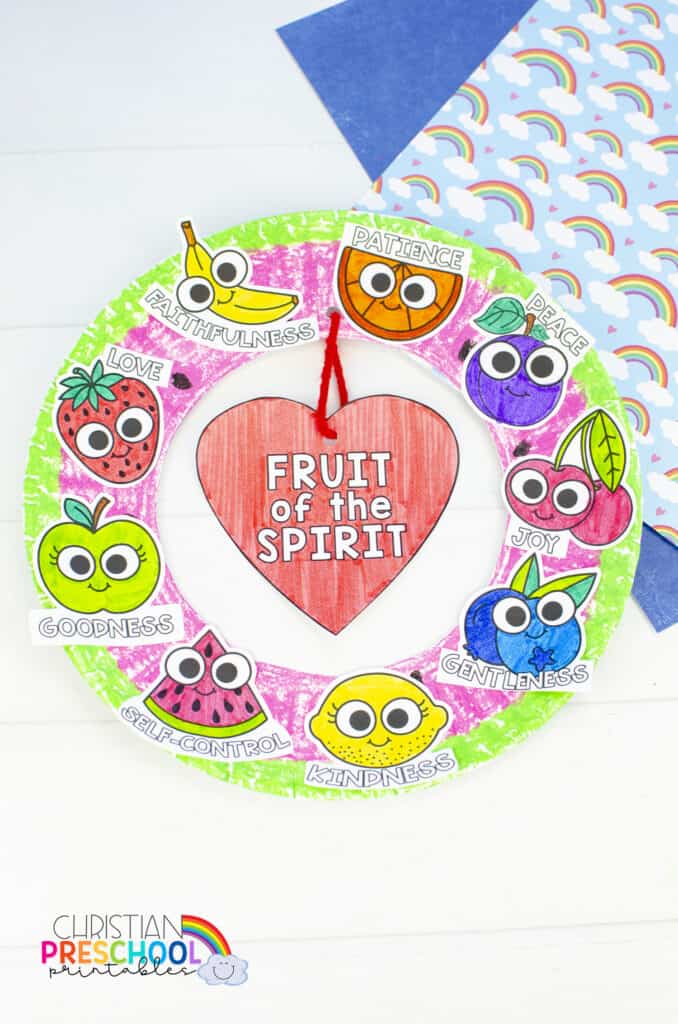
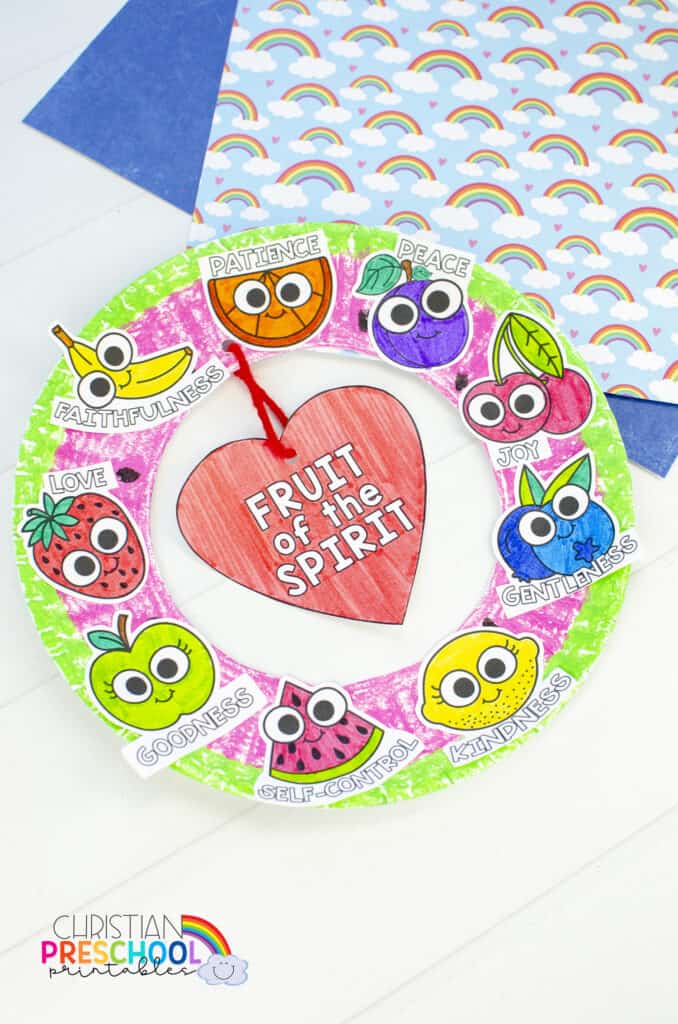
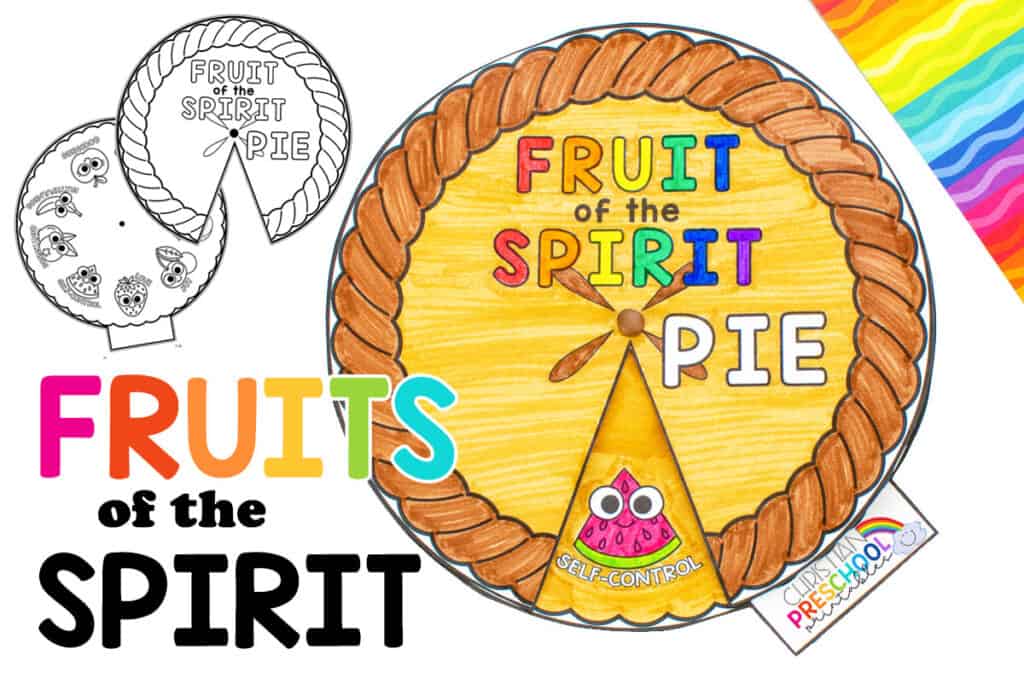
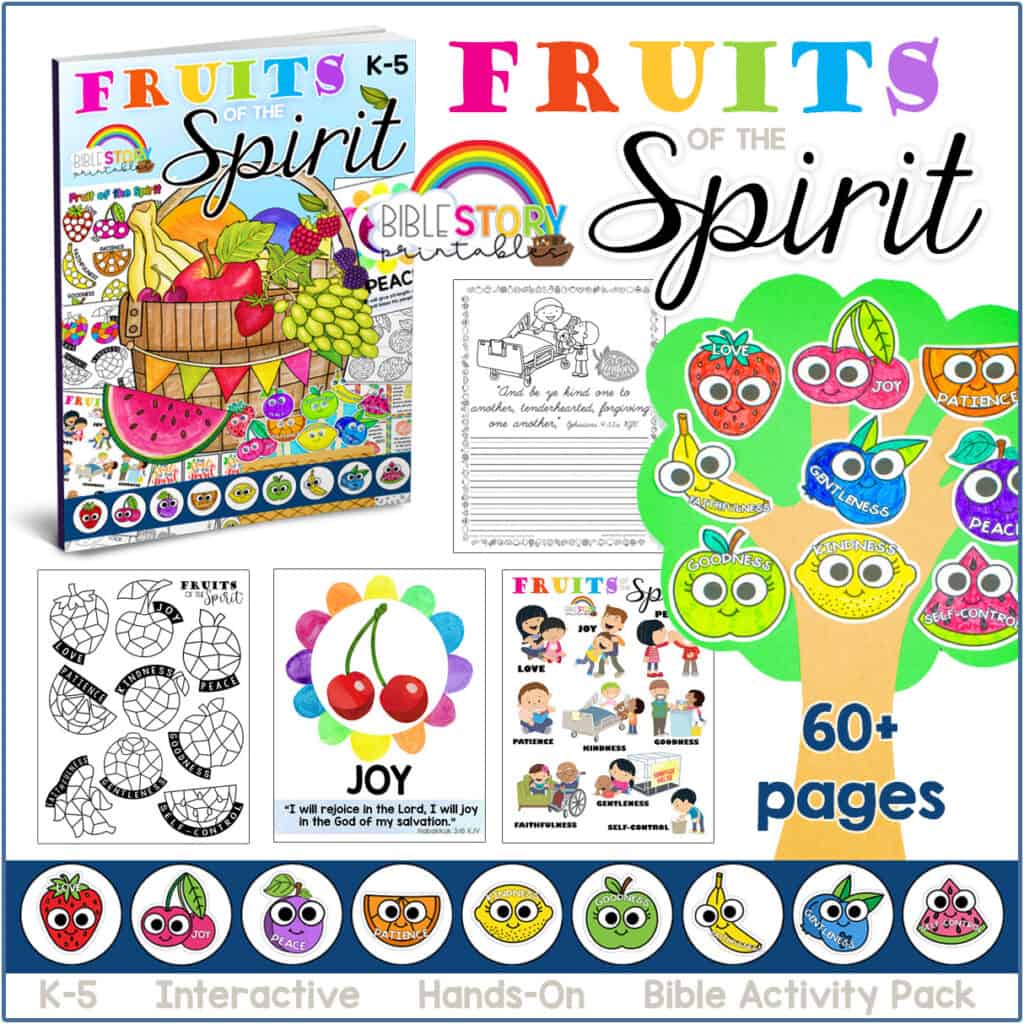
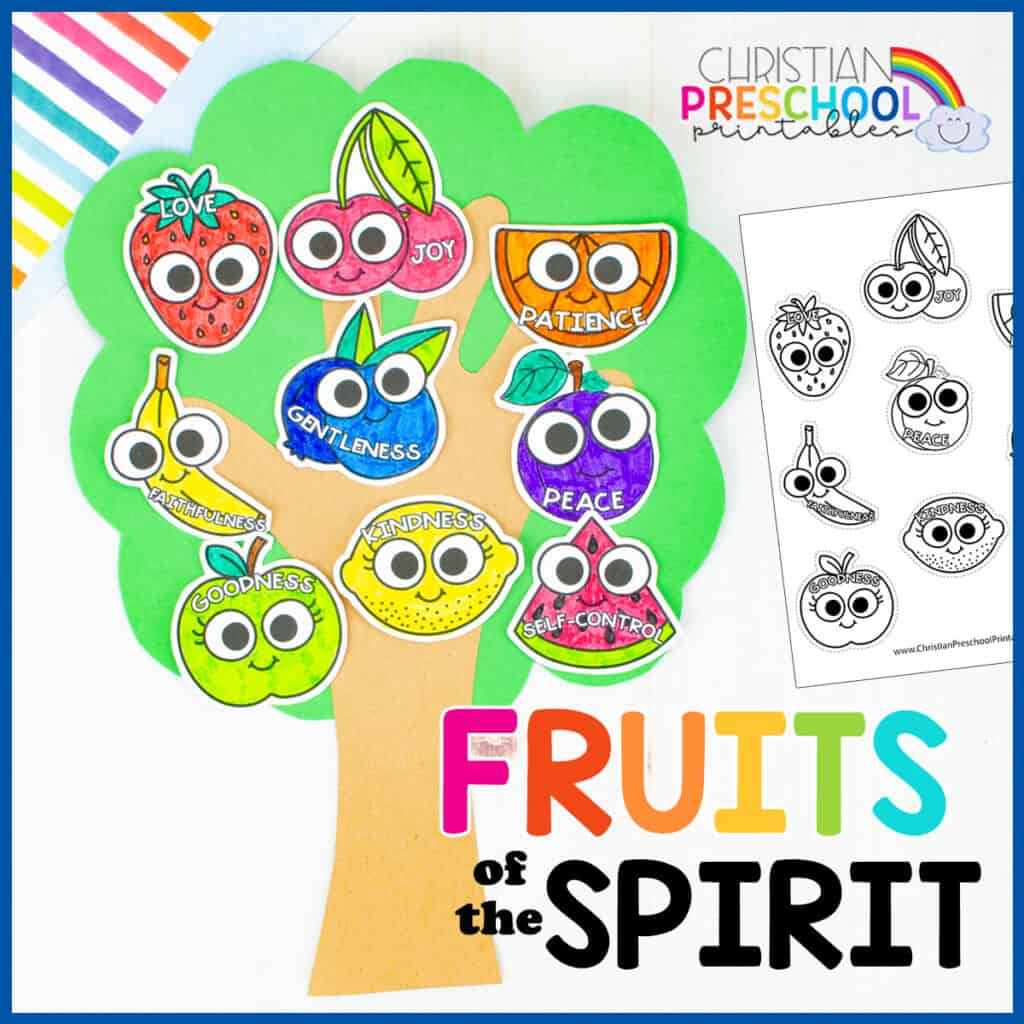
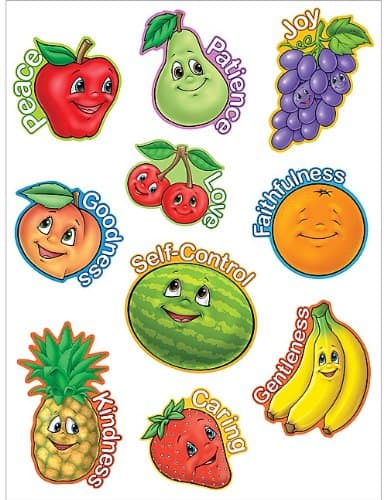
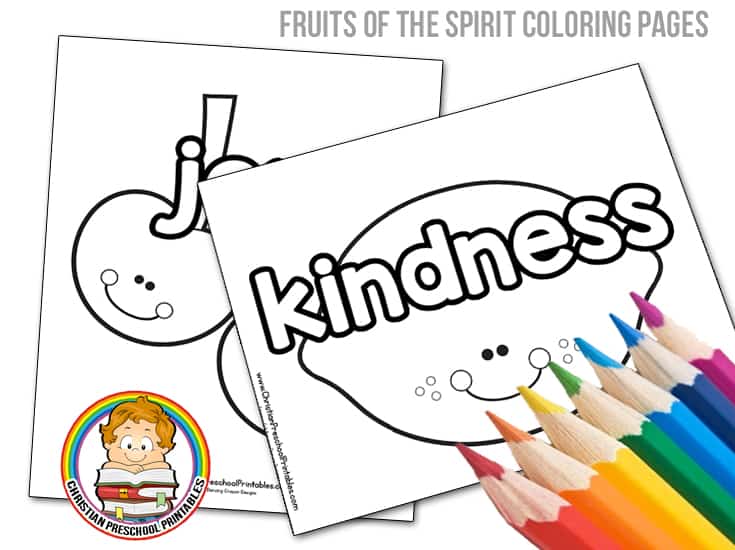
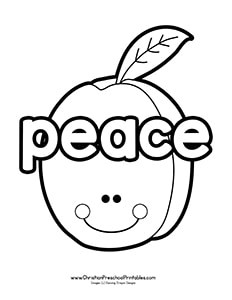
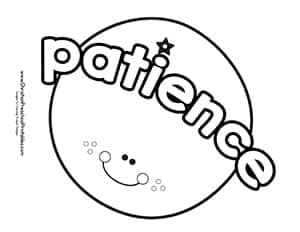
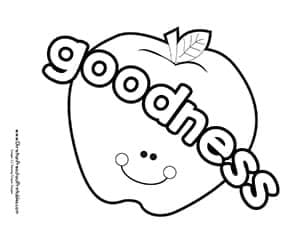
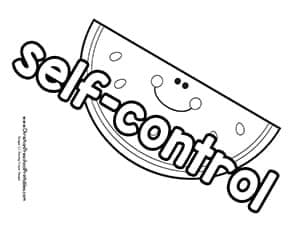
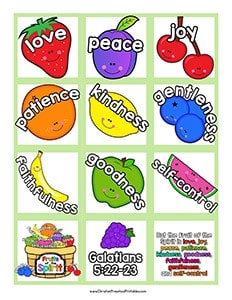
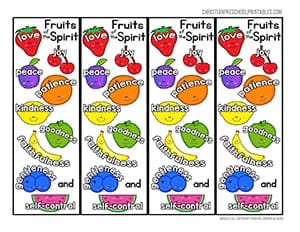
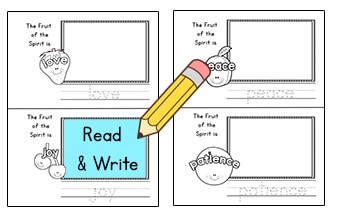
Each week, we’ve been giving you a TON of ideas for your Fruits of the Spirit Lessons for Preschoolers and other ages. These adorable fruits will make your kids smile as they enjoy creating, crafting, and coloring.
Whether you need a bible craft for a Sunday School lesson, VBS, or Homeschool unit study, this is the perfect interactive lesson plan. And, as always, we keep the steps simple and the craft creative.
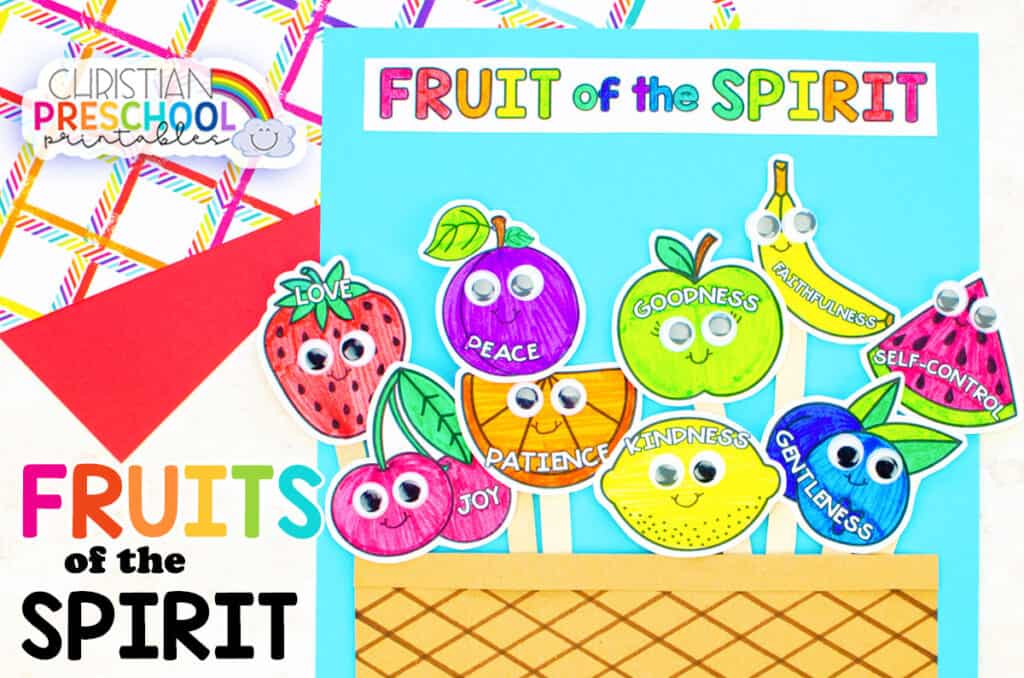
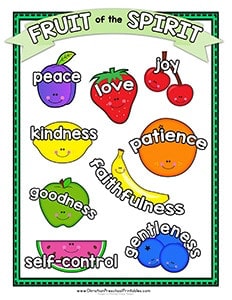
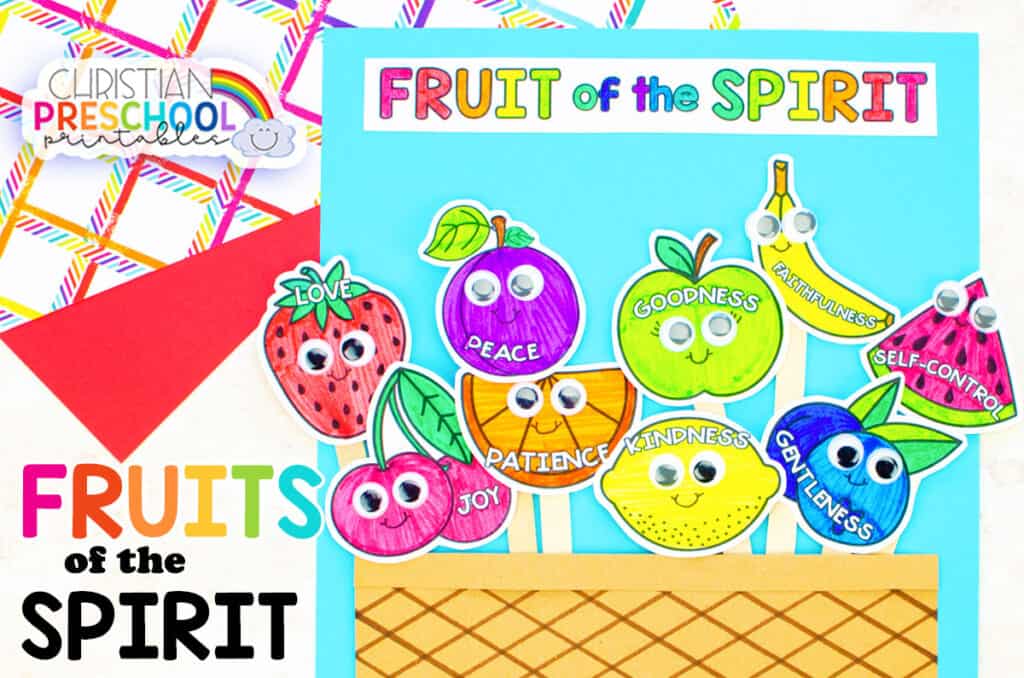
In this Fruit of the Spirit craft for kids, your student(s) will design their own Fruit of the Spirit Basket in 11 easy steps. With a step by step tutorial and quick video to guide you along, this will help your students learn the Fruits of the Spirit in a practical and playful way.
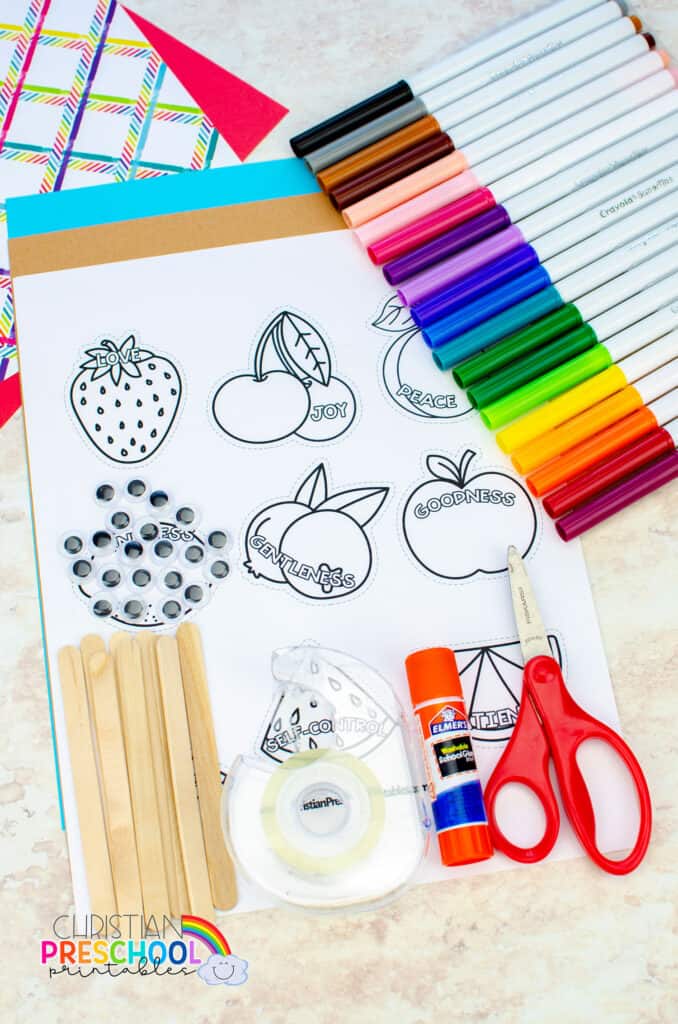
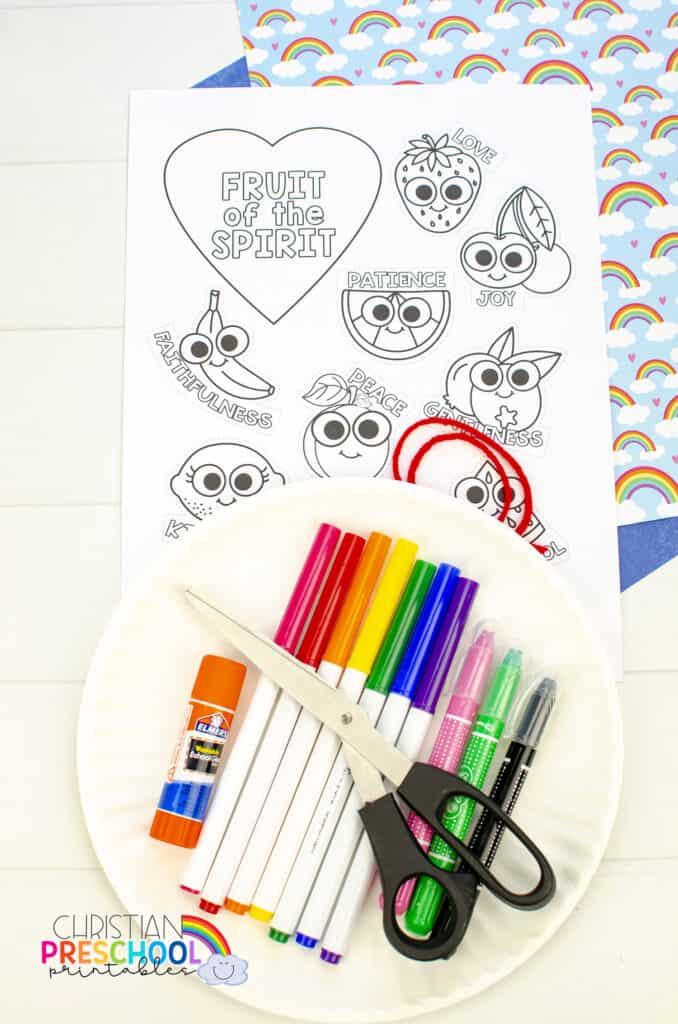
Fruit of the Spirit Craft Supplies
- Template
- Cardstock; Blue (or any background color) and Brown
- Google eyes
- Popsicle sticks
- Tape
- Glue stick
- Scissors
- Markers
Fruit of the Spirit Instructions
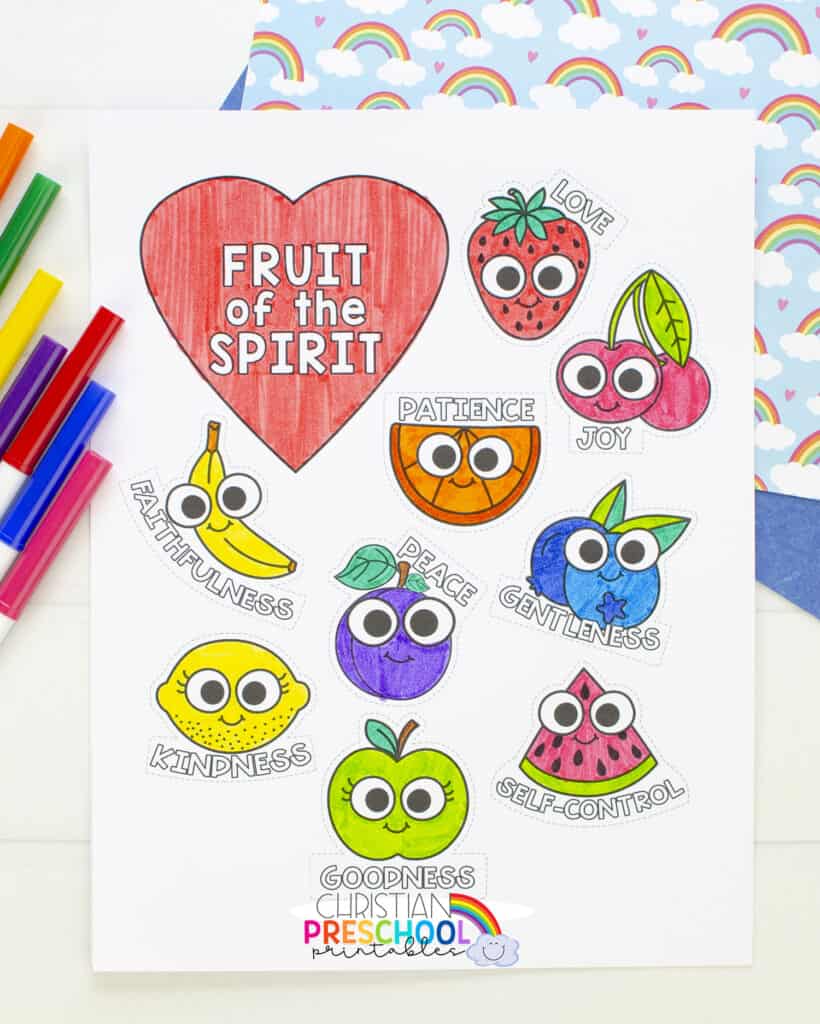
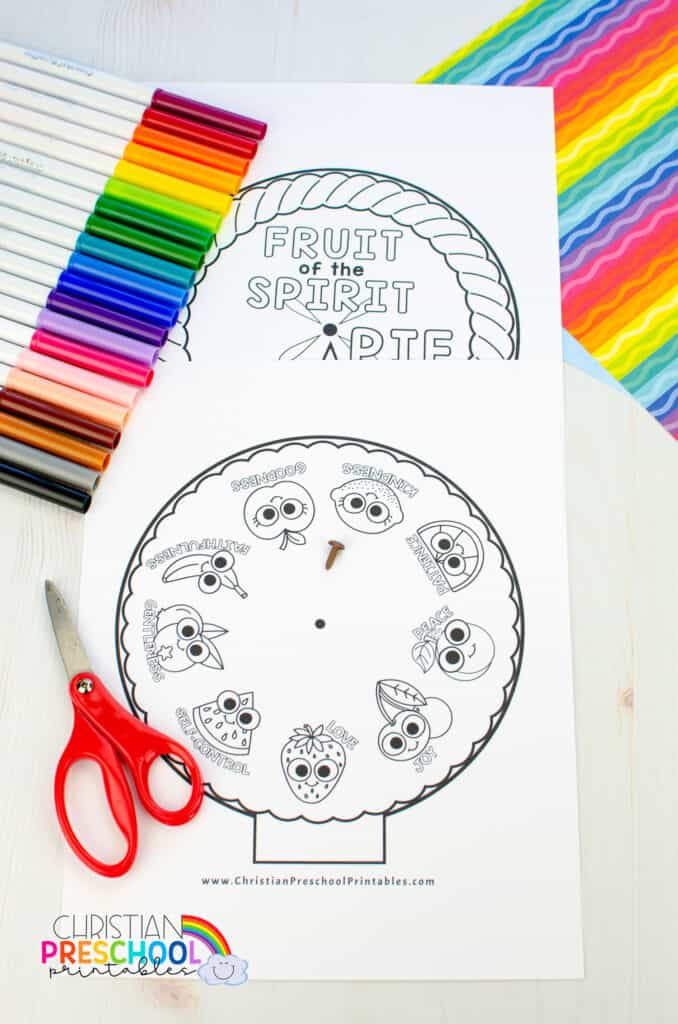
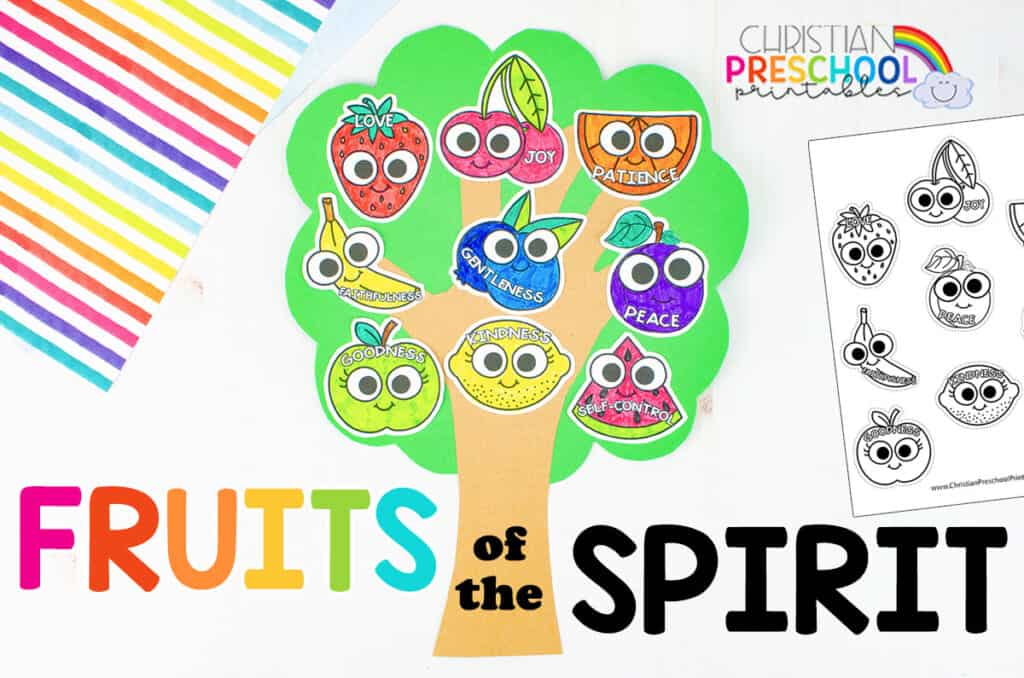
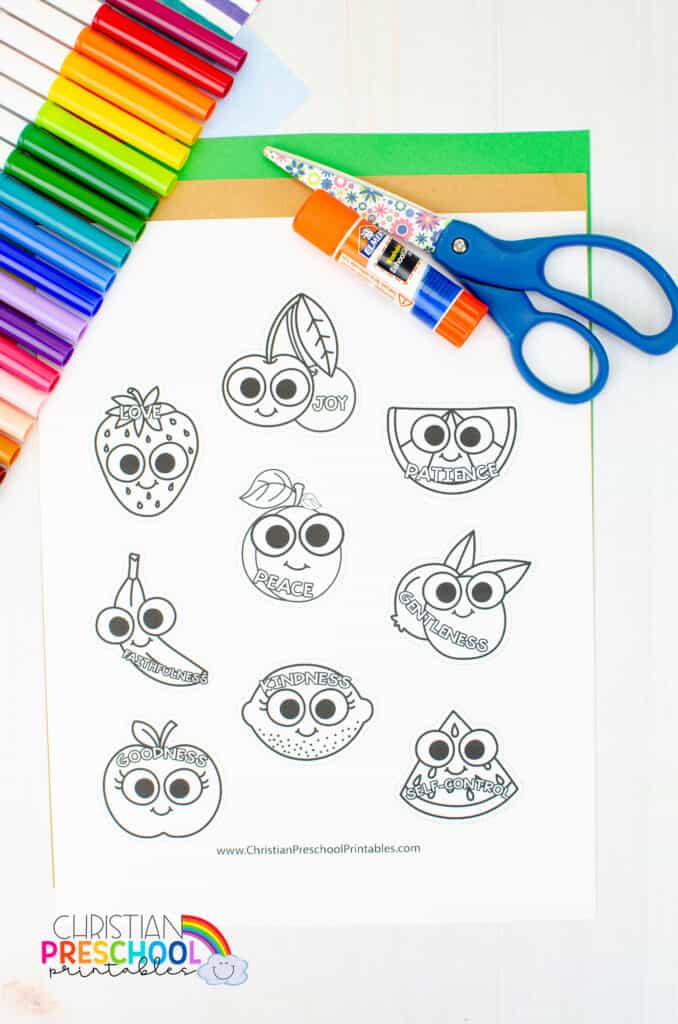
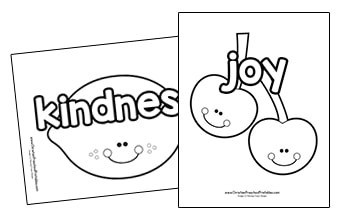
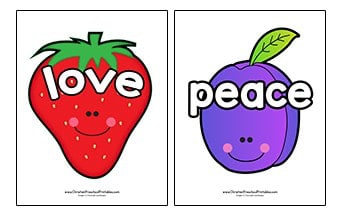
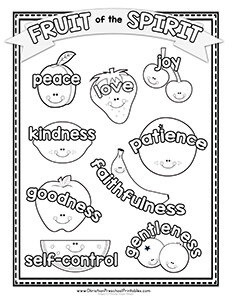
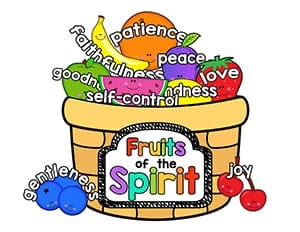
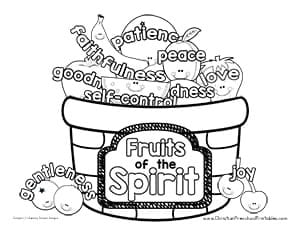
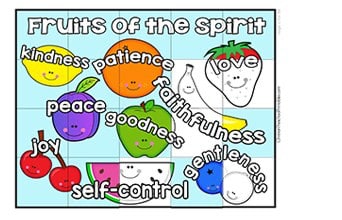
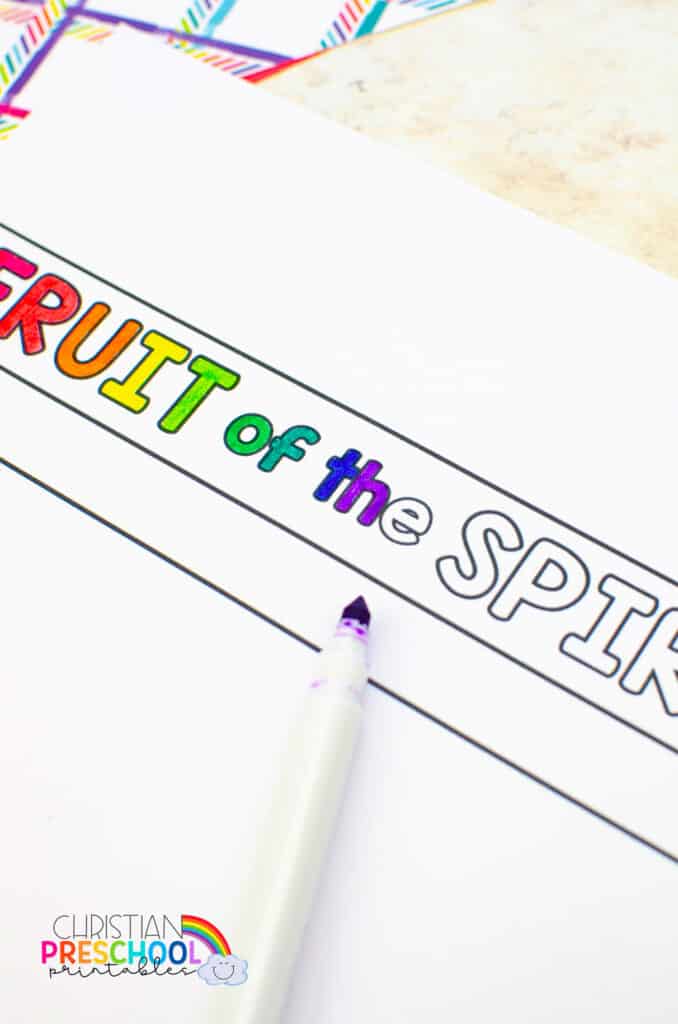
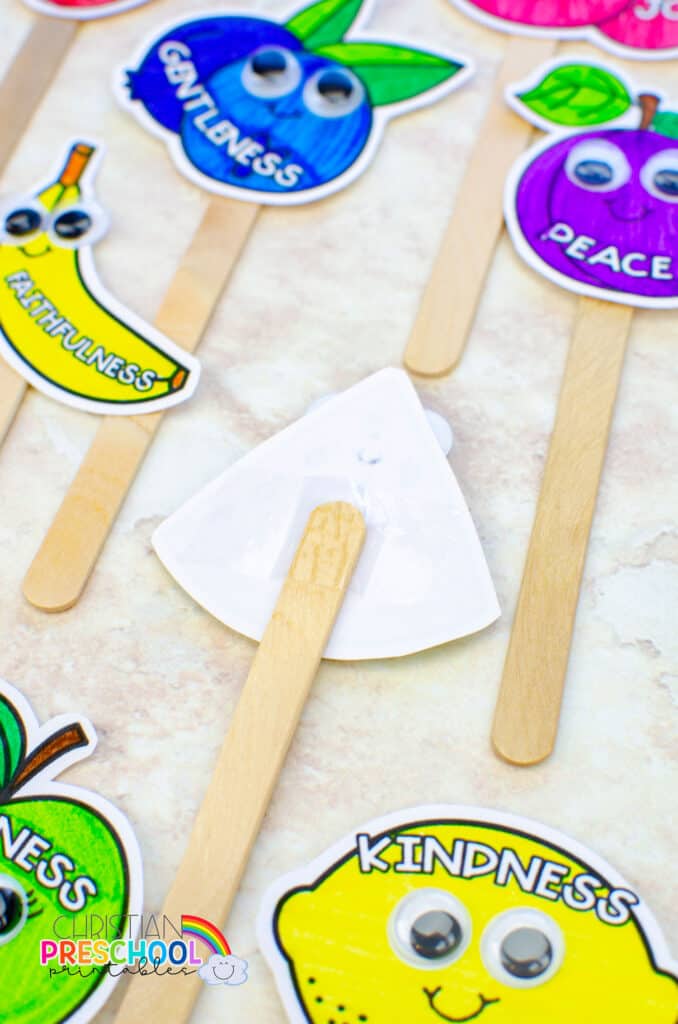
1. First print out the Fruit of the Spirit template on white cardstock, it is available in black and white or color. If you printed the black and white, use the markers to color all the fruits and title.
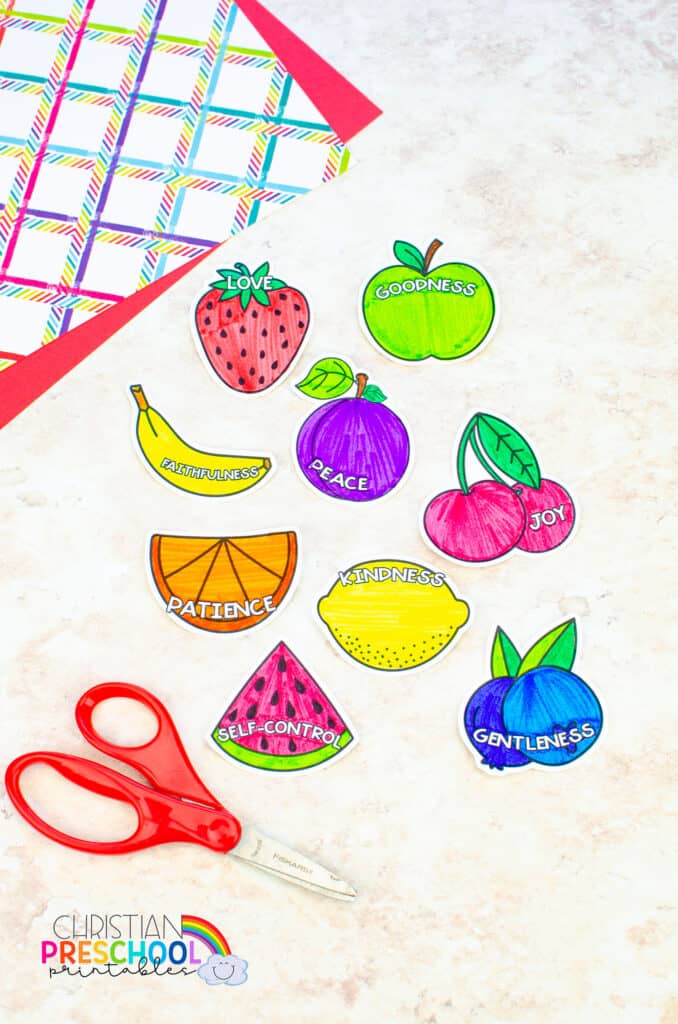
2. Now cut all the fruits out.
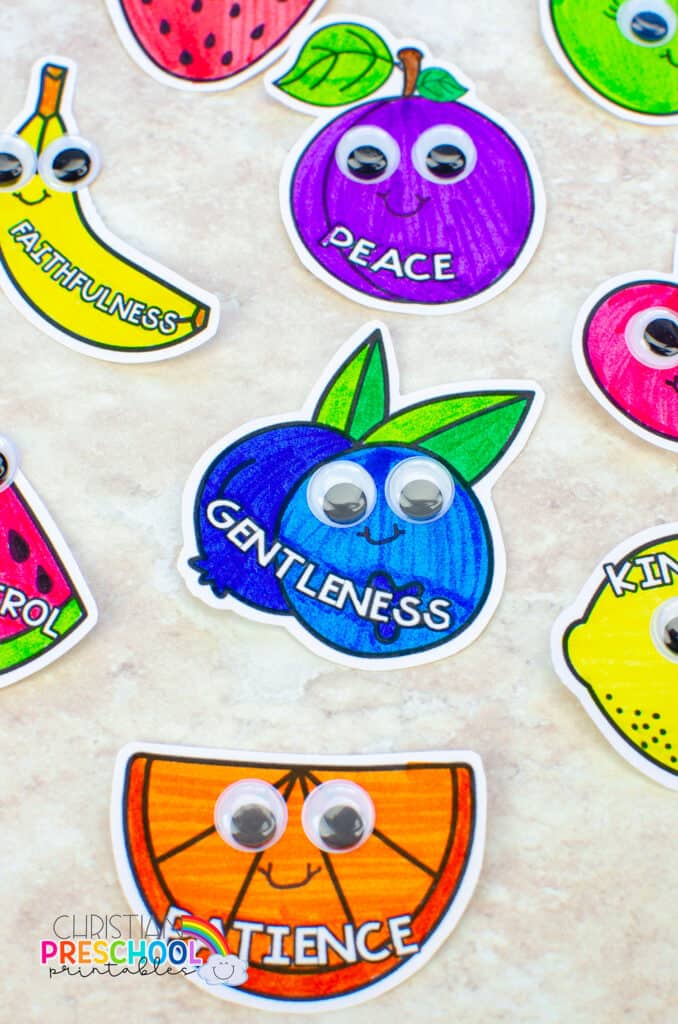
3. Next, give each fruit a smile with a black marker and pop on some google eyes!
4. Then tape a popsicle stick to the back of each fruit character.
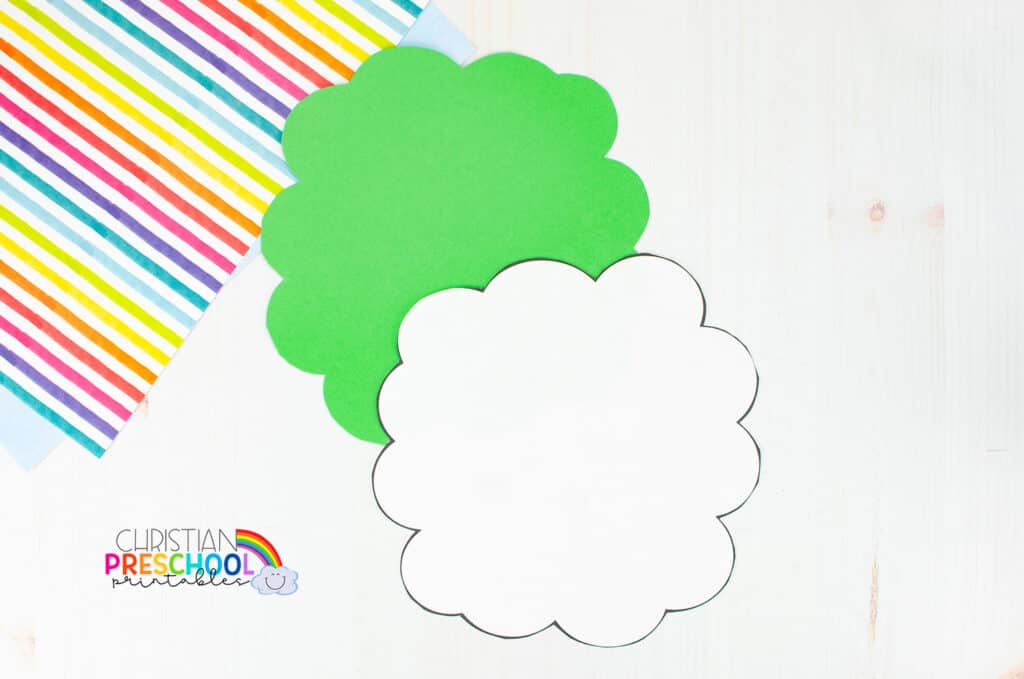
5. Now, cut out the large rectangle and trace it onto the brown paper.
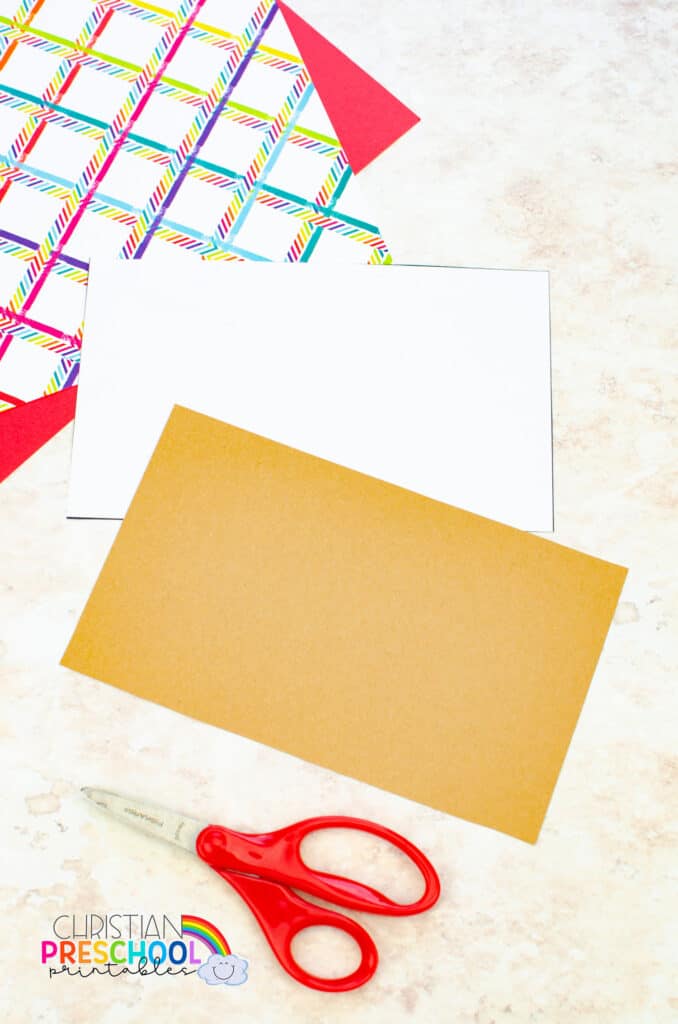
6. Cut the rectangle from the brown paper.
7. Use a marker to draw diagonal lines across the brown rectangle. Repeat going the opposite direction to create a basket pattern.
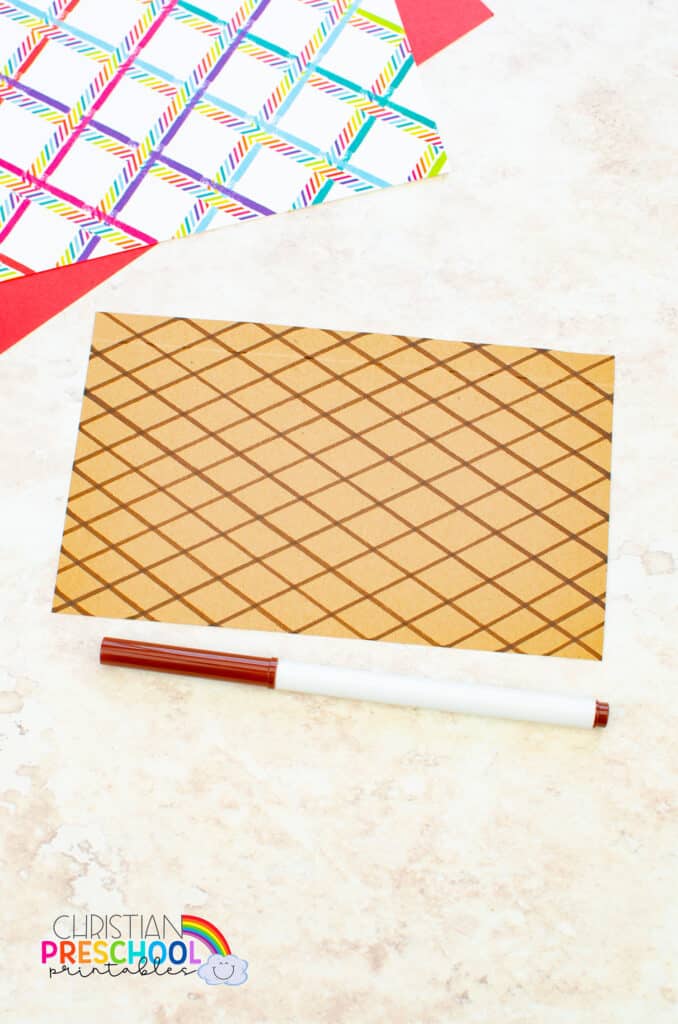
8. Fold the top 1/2” of the brown basket rectangle over to make a brim.
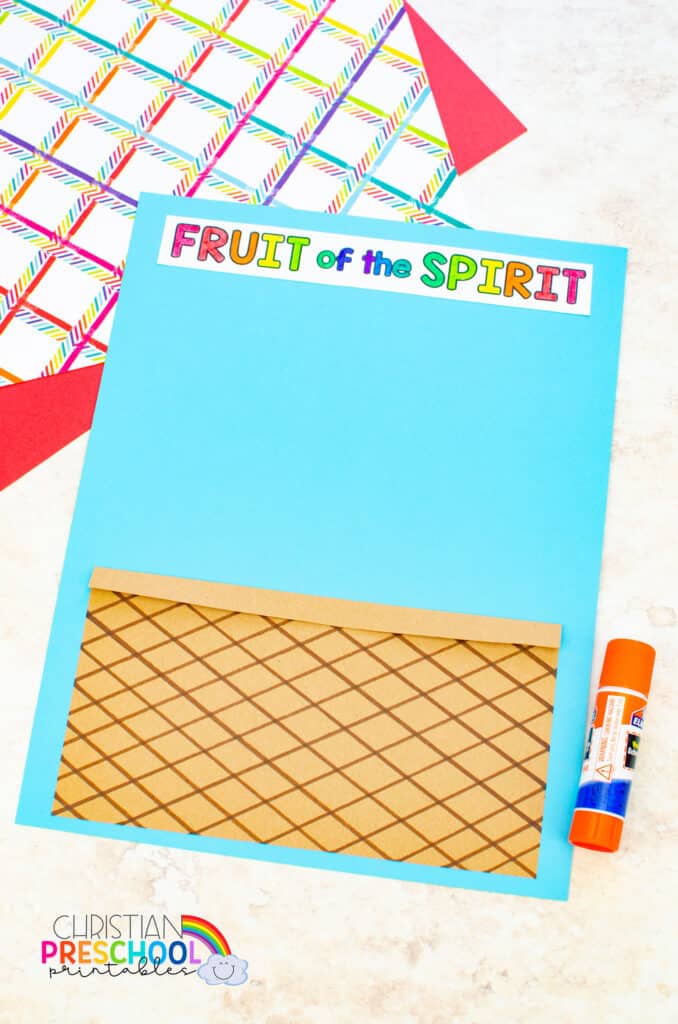
9. Now glue the basket to the blue cardstock, but only glue along the sides and the bottom so the popsicle sticks can fit inside.
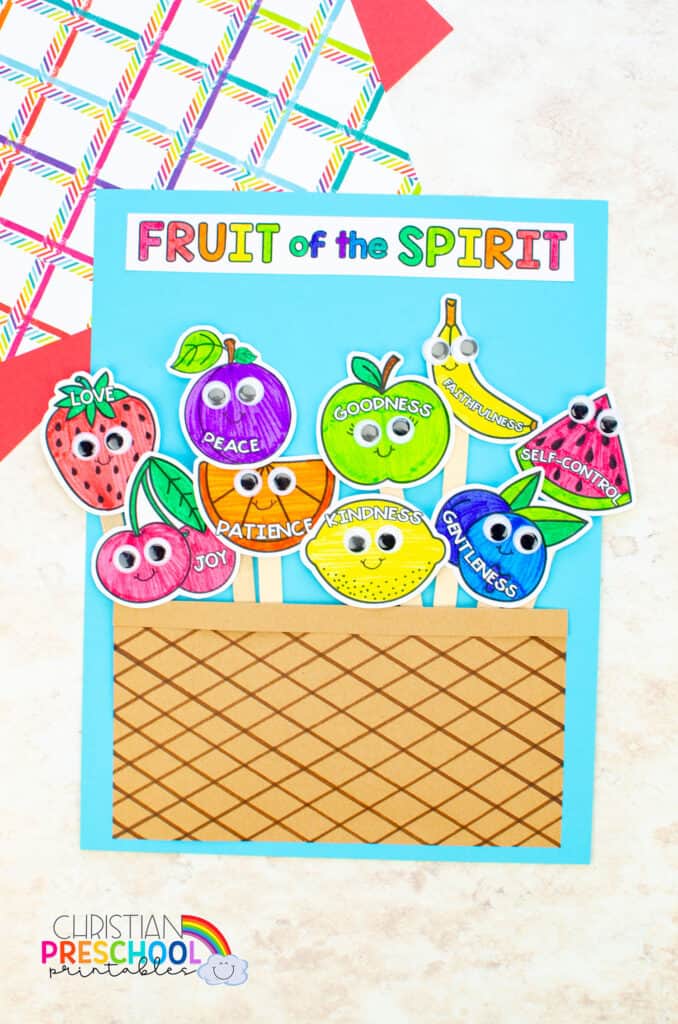
10. Glue the Fruit of the Spirit title to the top.

11. To finish the craft, put all of the fruit popsicle sticks inside the basket!
The craft is complete.
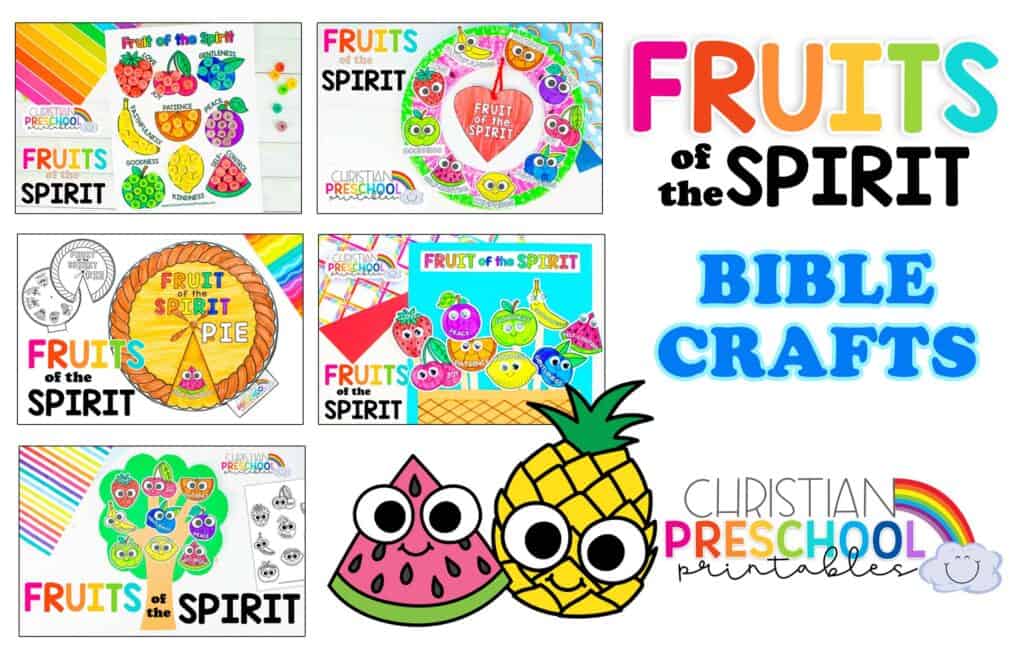
Looking for MORE Fruit of the Spirit Crafts? Check out our Fruit of the Spirit Bible Crafts for Kids Page!
